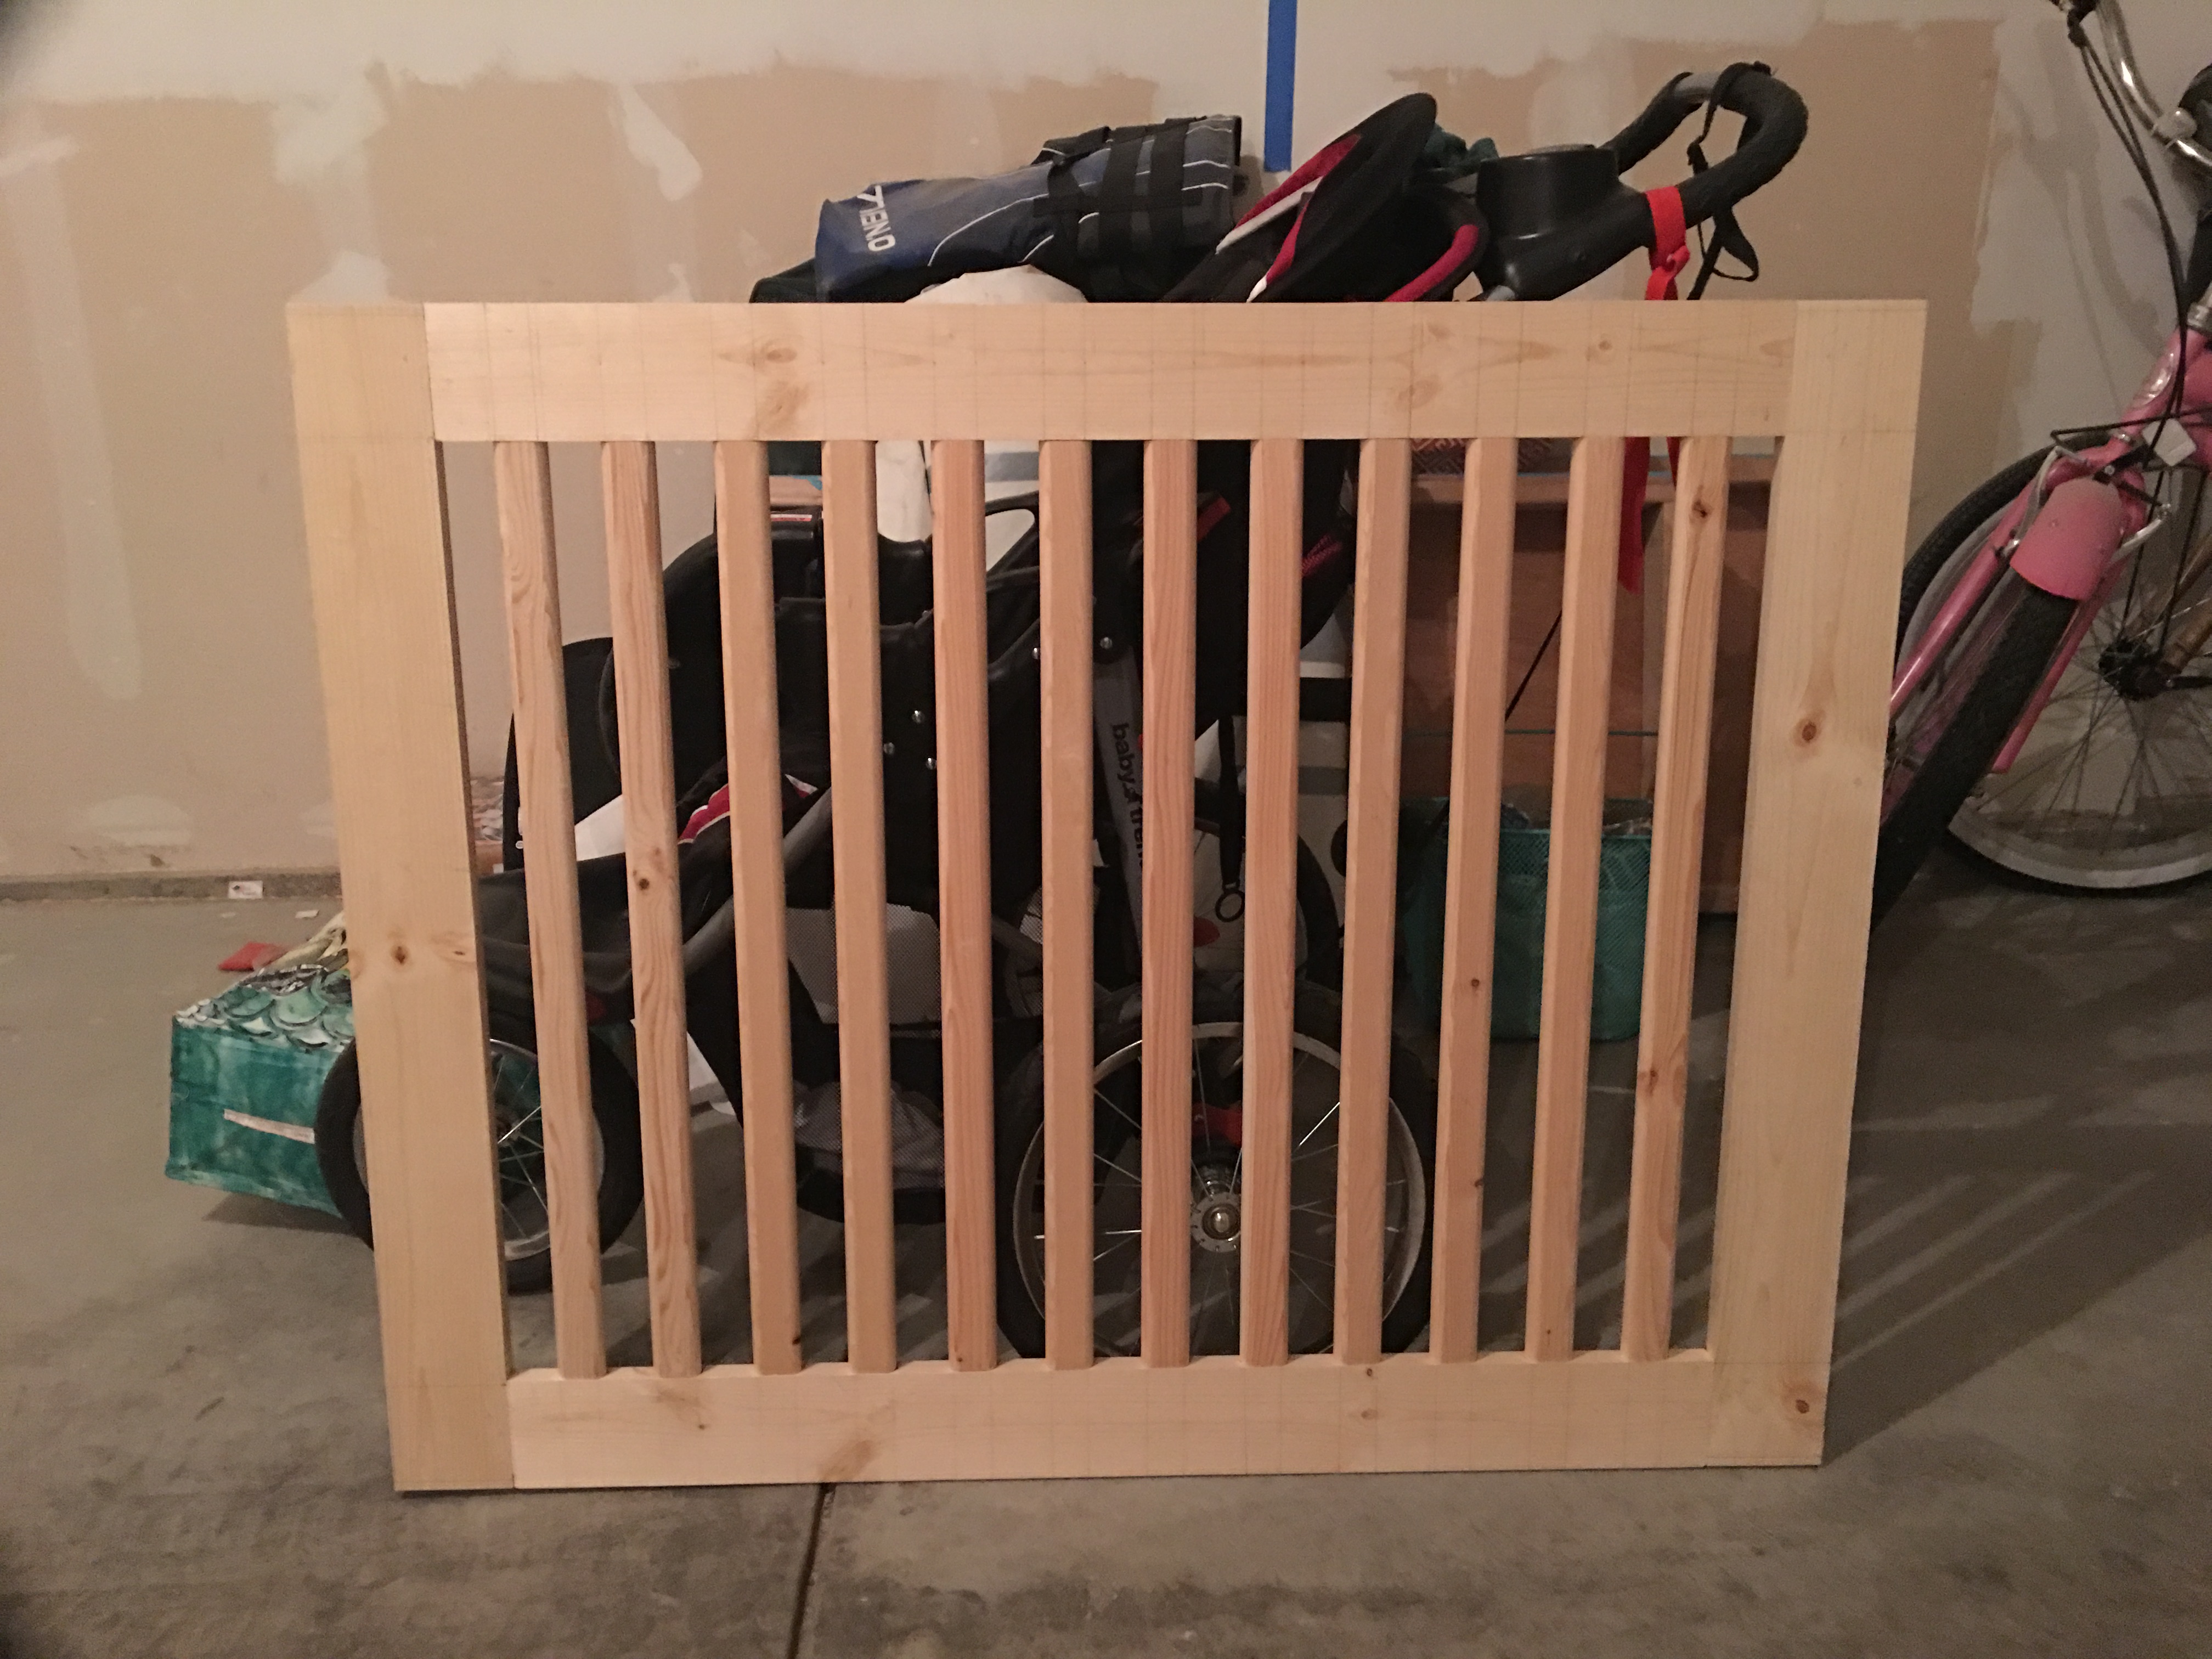
Baby Gates
Mortise Meets Tenon - Q2'18
Baby proofing provided the perfect opportunity to try out some new techniques for mortise and tenon joints.
Files
Method 1: Router Table for Mortise and Tenons
This method proved too unreliable for me when making the tenons. I think this was due to a lack of vertical support jig. I may go back and retry this method with an appropriate support jig. The mortises came out perfectly though.
Method 2: Router Table for Mortises + Table Saw for Tenons
With the help of a good table saw tenon jig, I was able to easily use the table saw for my tenons. This method seemed much more natural for me and gave a very clean result.
Tight Fit
I made sure to make all of the tenons nice and tight with the mortises. Some were too tight though and they required a bit of sanding to ensure a good surface for the glue-up.
The Glue-Up
Tightbond 3 dries quickly and there were 12 tenons for the rails plus the 4 tenons on the sides. This made for a very rushed glue-up, which resulted in a mistake with the bottom board being flipped around. Unfortunately the mortises on these pices were not placed in exactly mirror locations, so flipping the piece over resulted in some gaps appearing.
How to Fix Gaps: DIY Wood Filler
The fill the newly formed gaps, I used some wood glue mixed with some of the wood shavings. This doesn't create a perfect blend, so it's a good thing I'm painting everything.