Pipe Desk
Metal Meets Wood - Q1'18
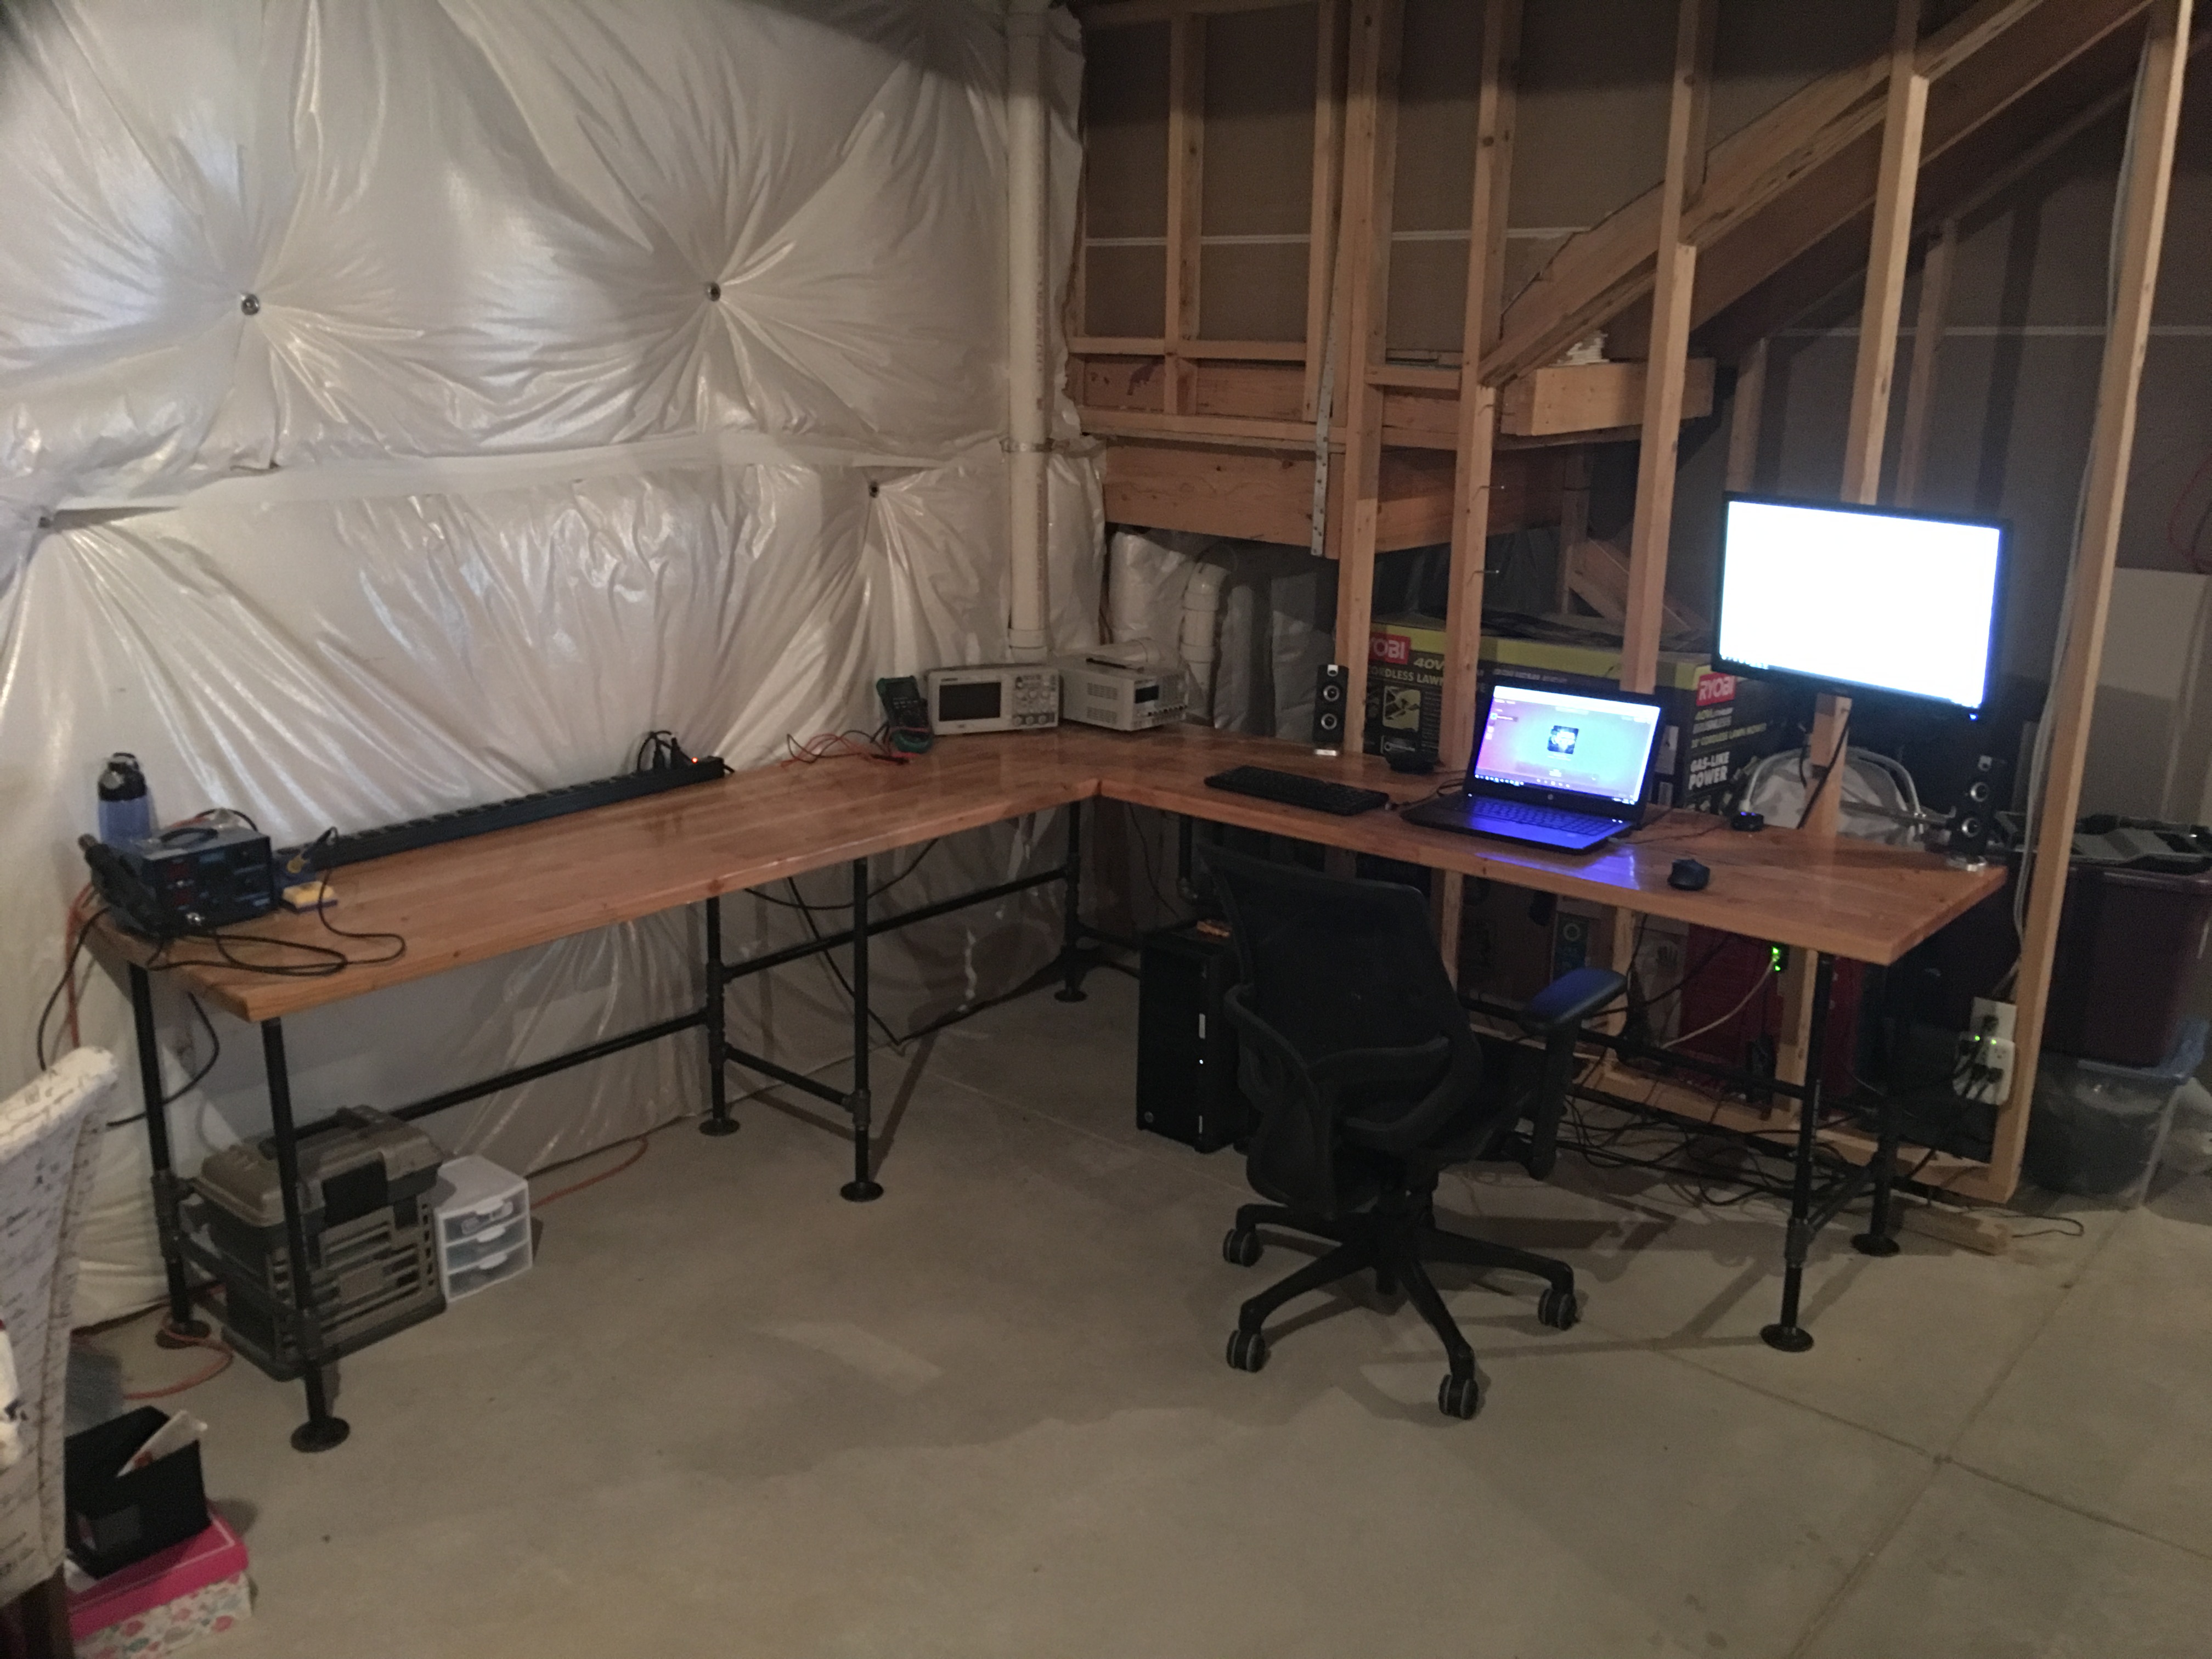
A solid work surface was the goal of this project. I wanted something industrial and big. Lots of depth was a must, so I went 24" deep. One section measures 8 feet in length and is planned for tinkering (soldering mainly). The other section comes in at 7 feet and is going to be used for a basic workspace (laptop, 2 displays, and office comforts).
Files
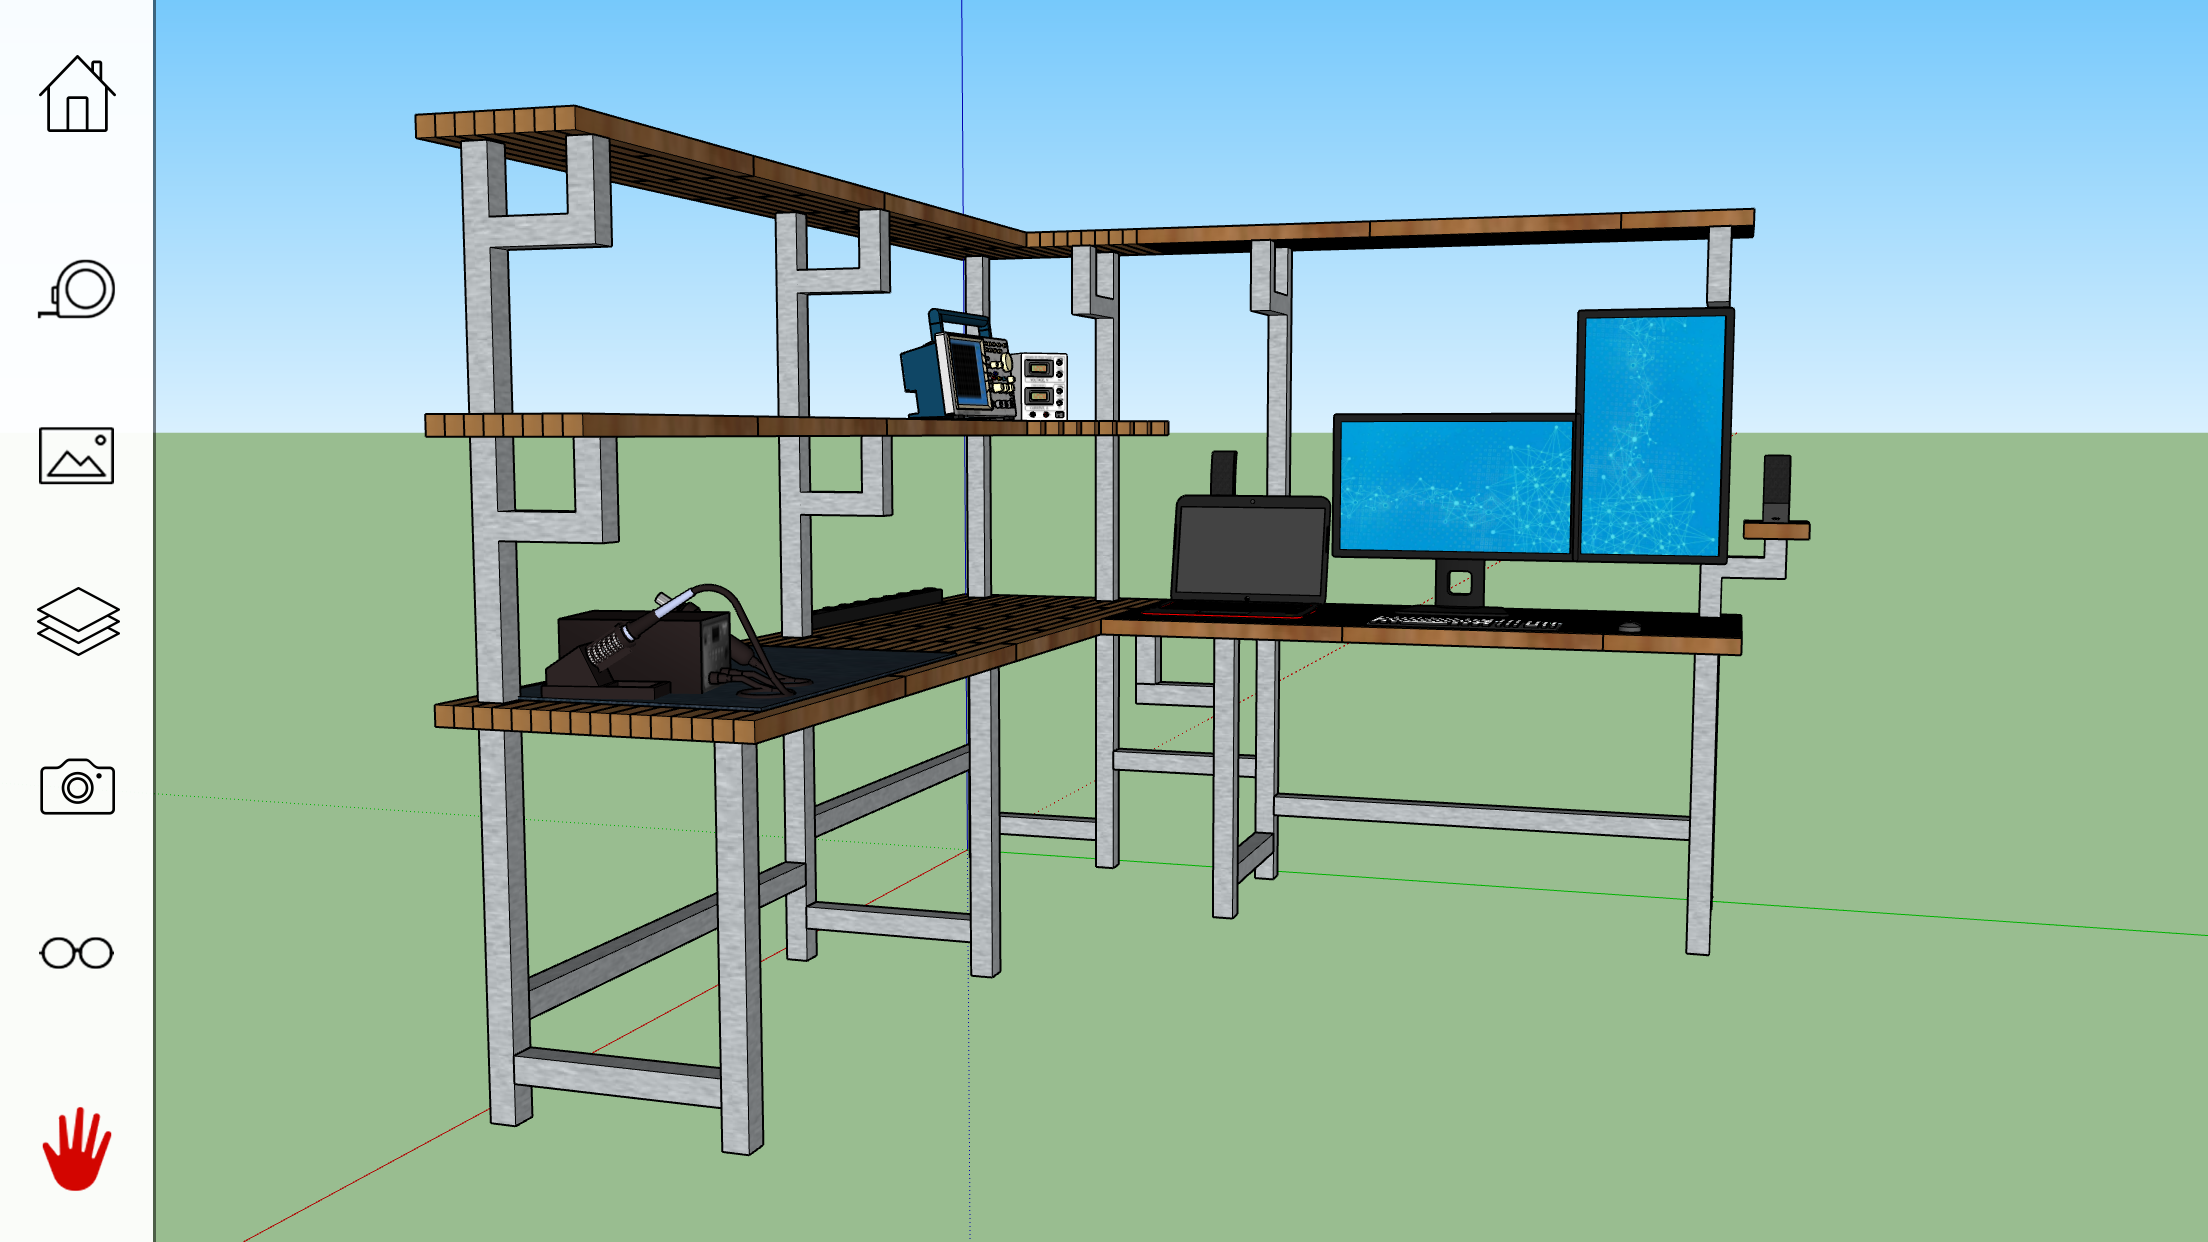
Modeled and Ready
I wanted to get a feel for how the pipes would connect together, so I modeled everything in SketchUp (model).
Now to take the model to Home Depot to get the pipes cut to size.
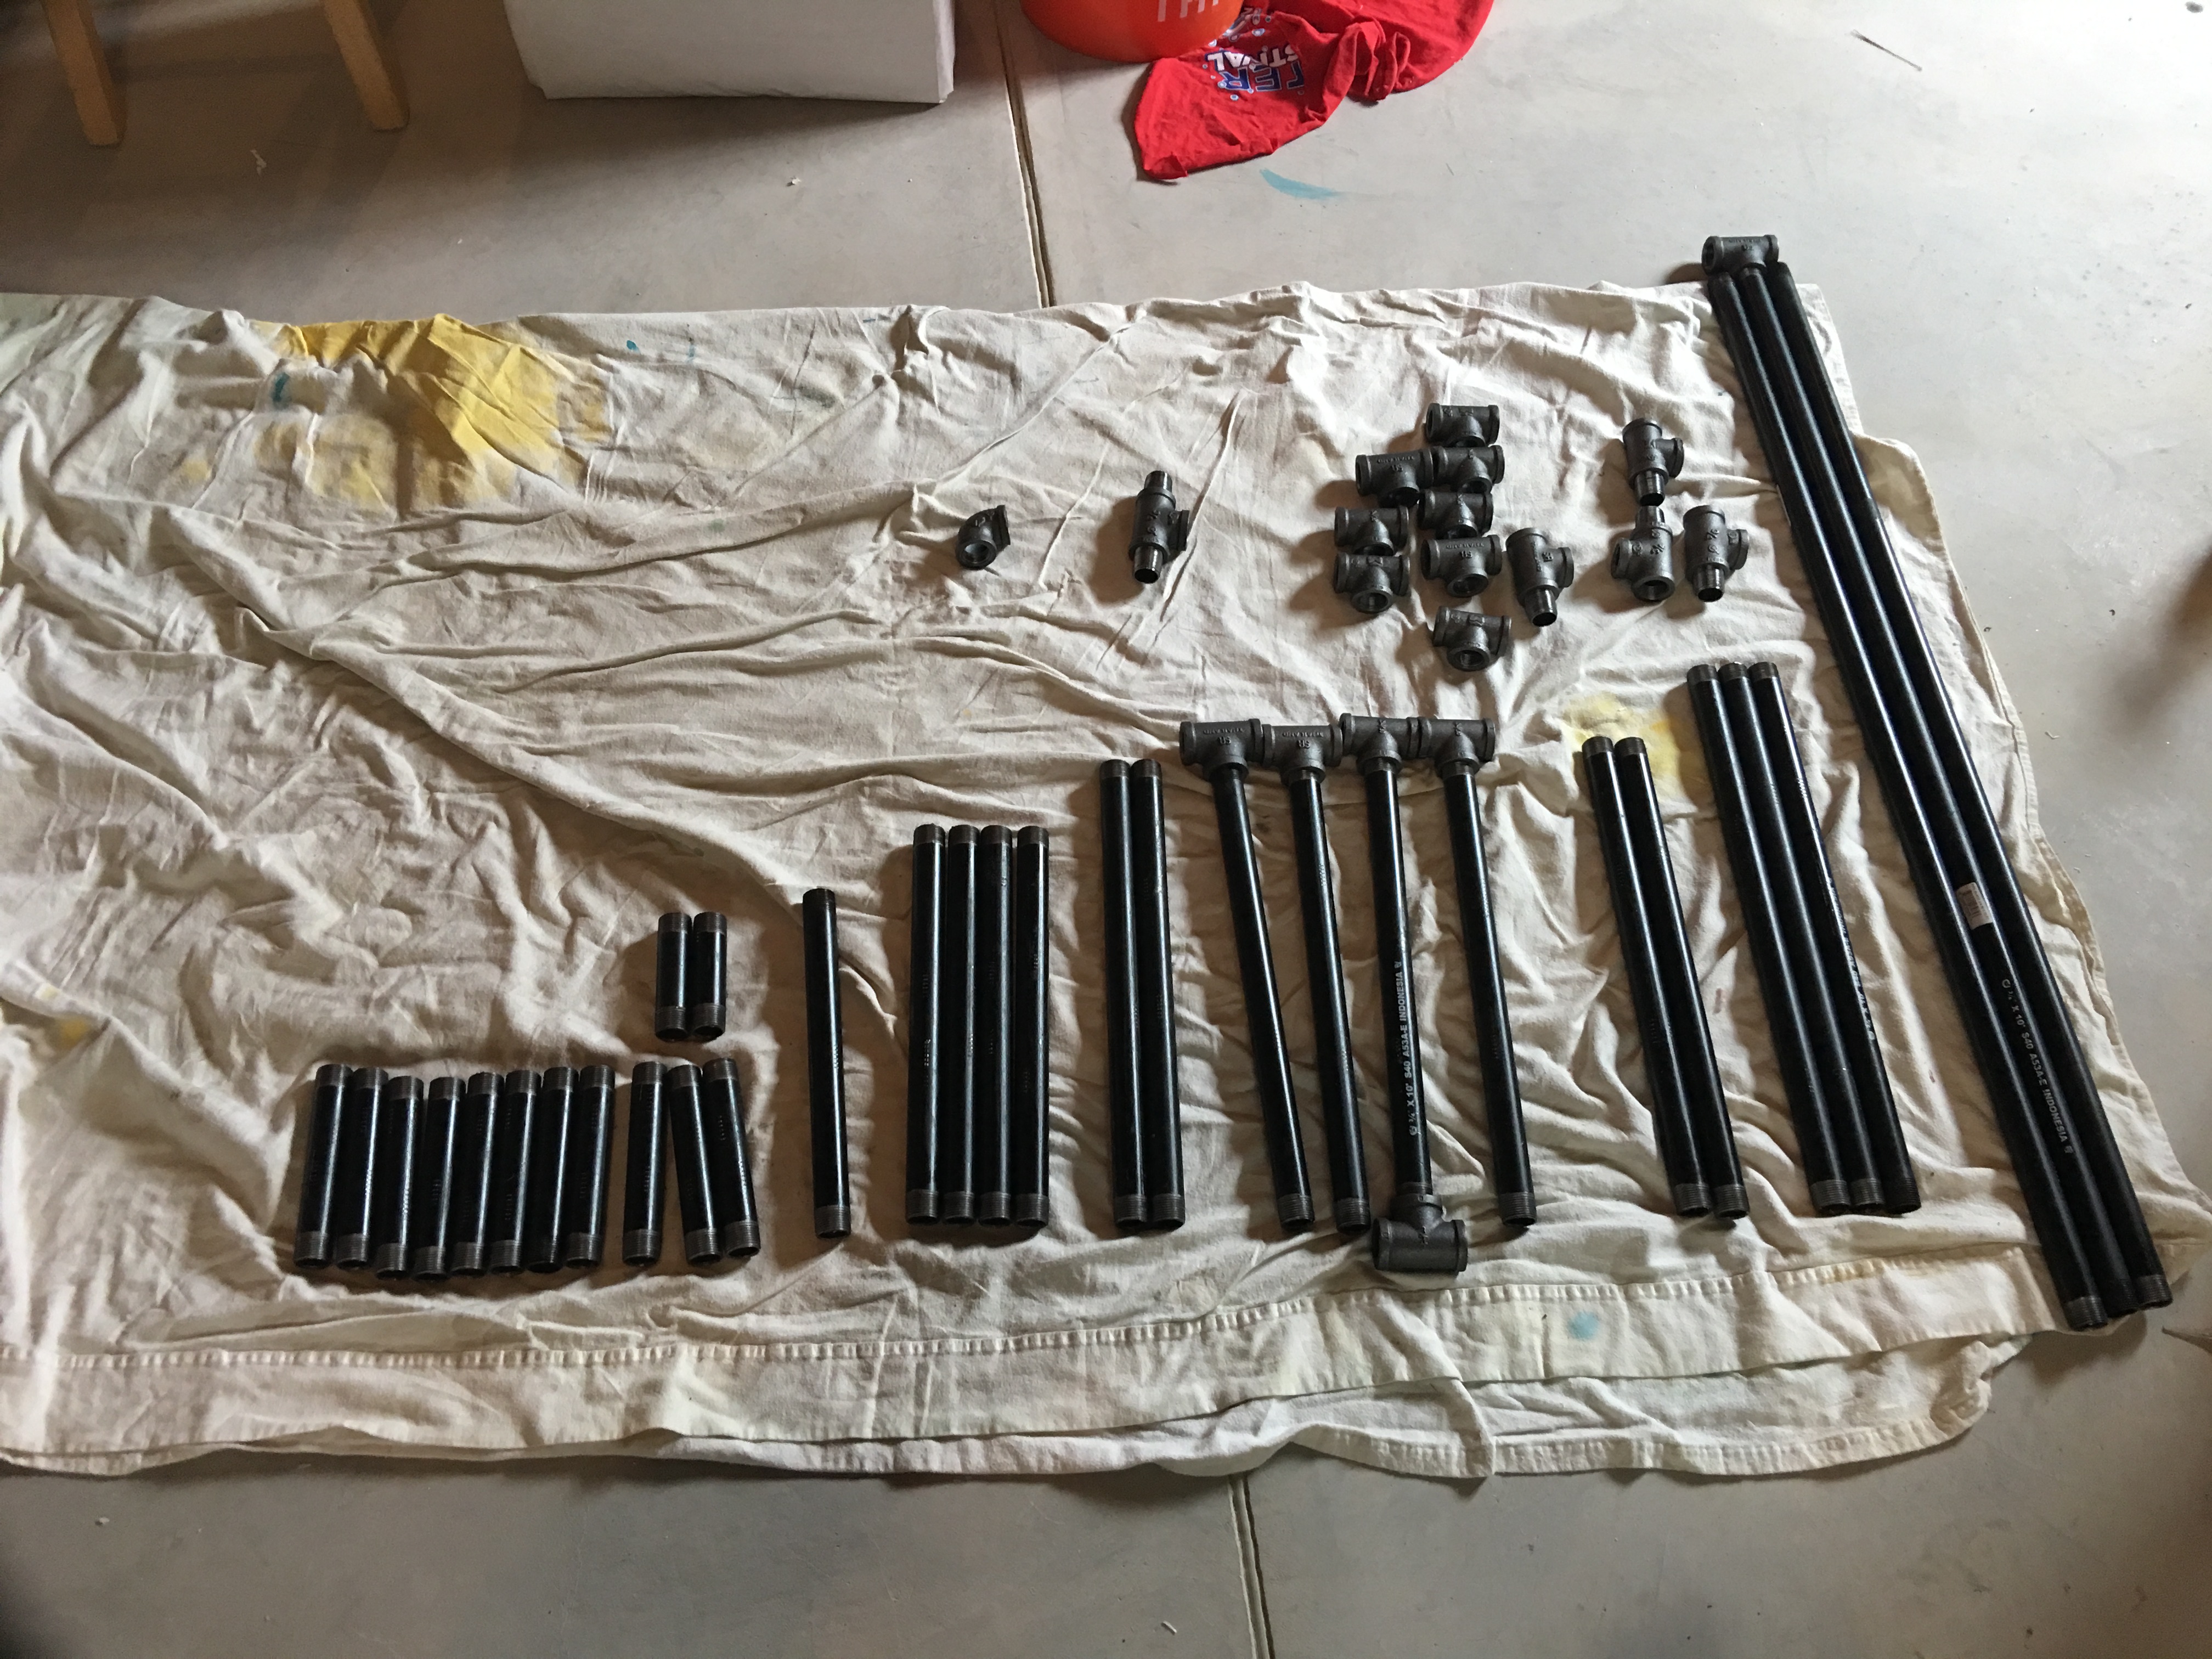
Base Pipes and Fittings
I as able to get the guy at Home Depot to custom cut every piece for the base from 4 10' pipes. This proved to be the best option for cost and allowed me to get exactly what I was after. There were a few pieces that I was uncertain on the exact dimension, so I just fit everything together while he cut. This allowed me to measure the areas that I was uncertain on.
With pipes in hand, it was then time to assemble the base.
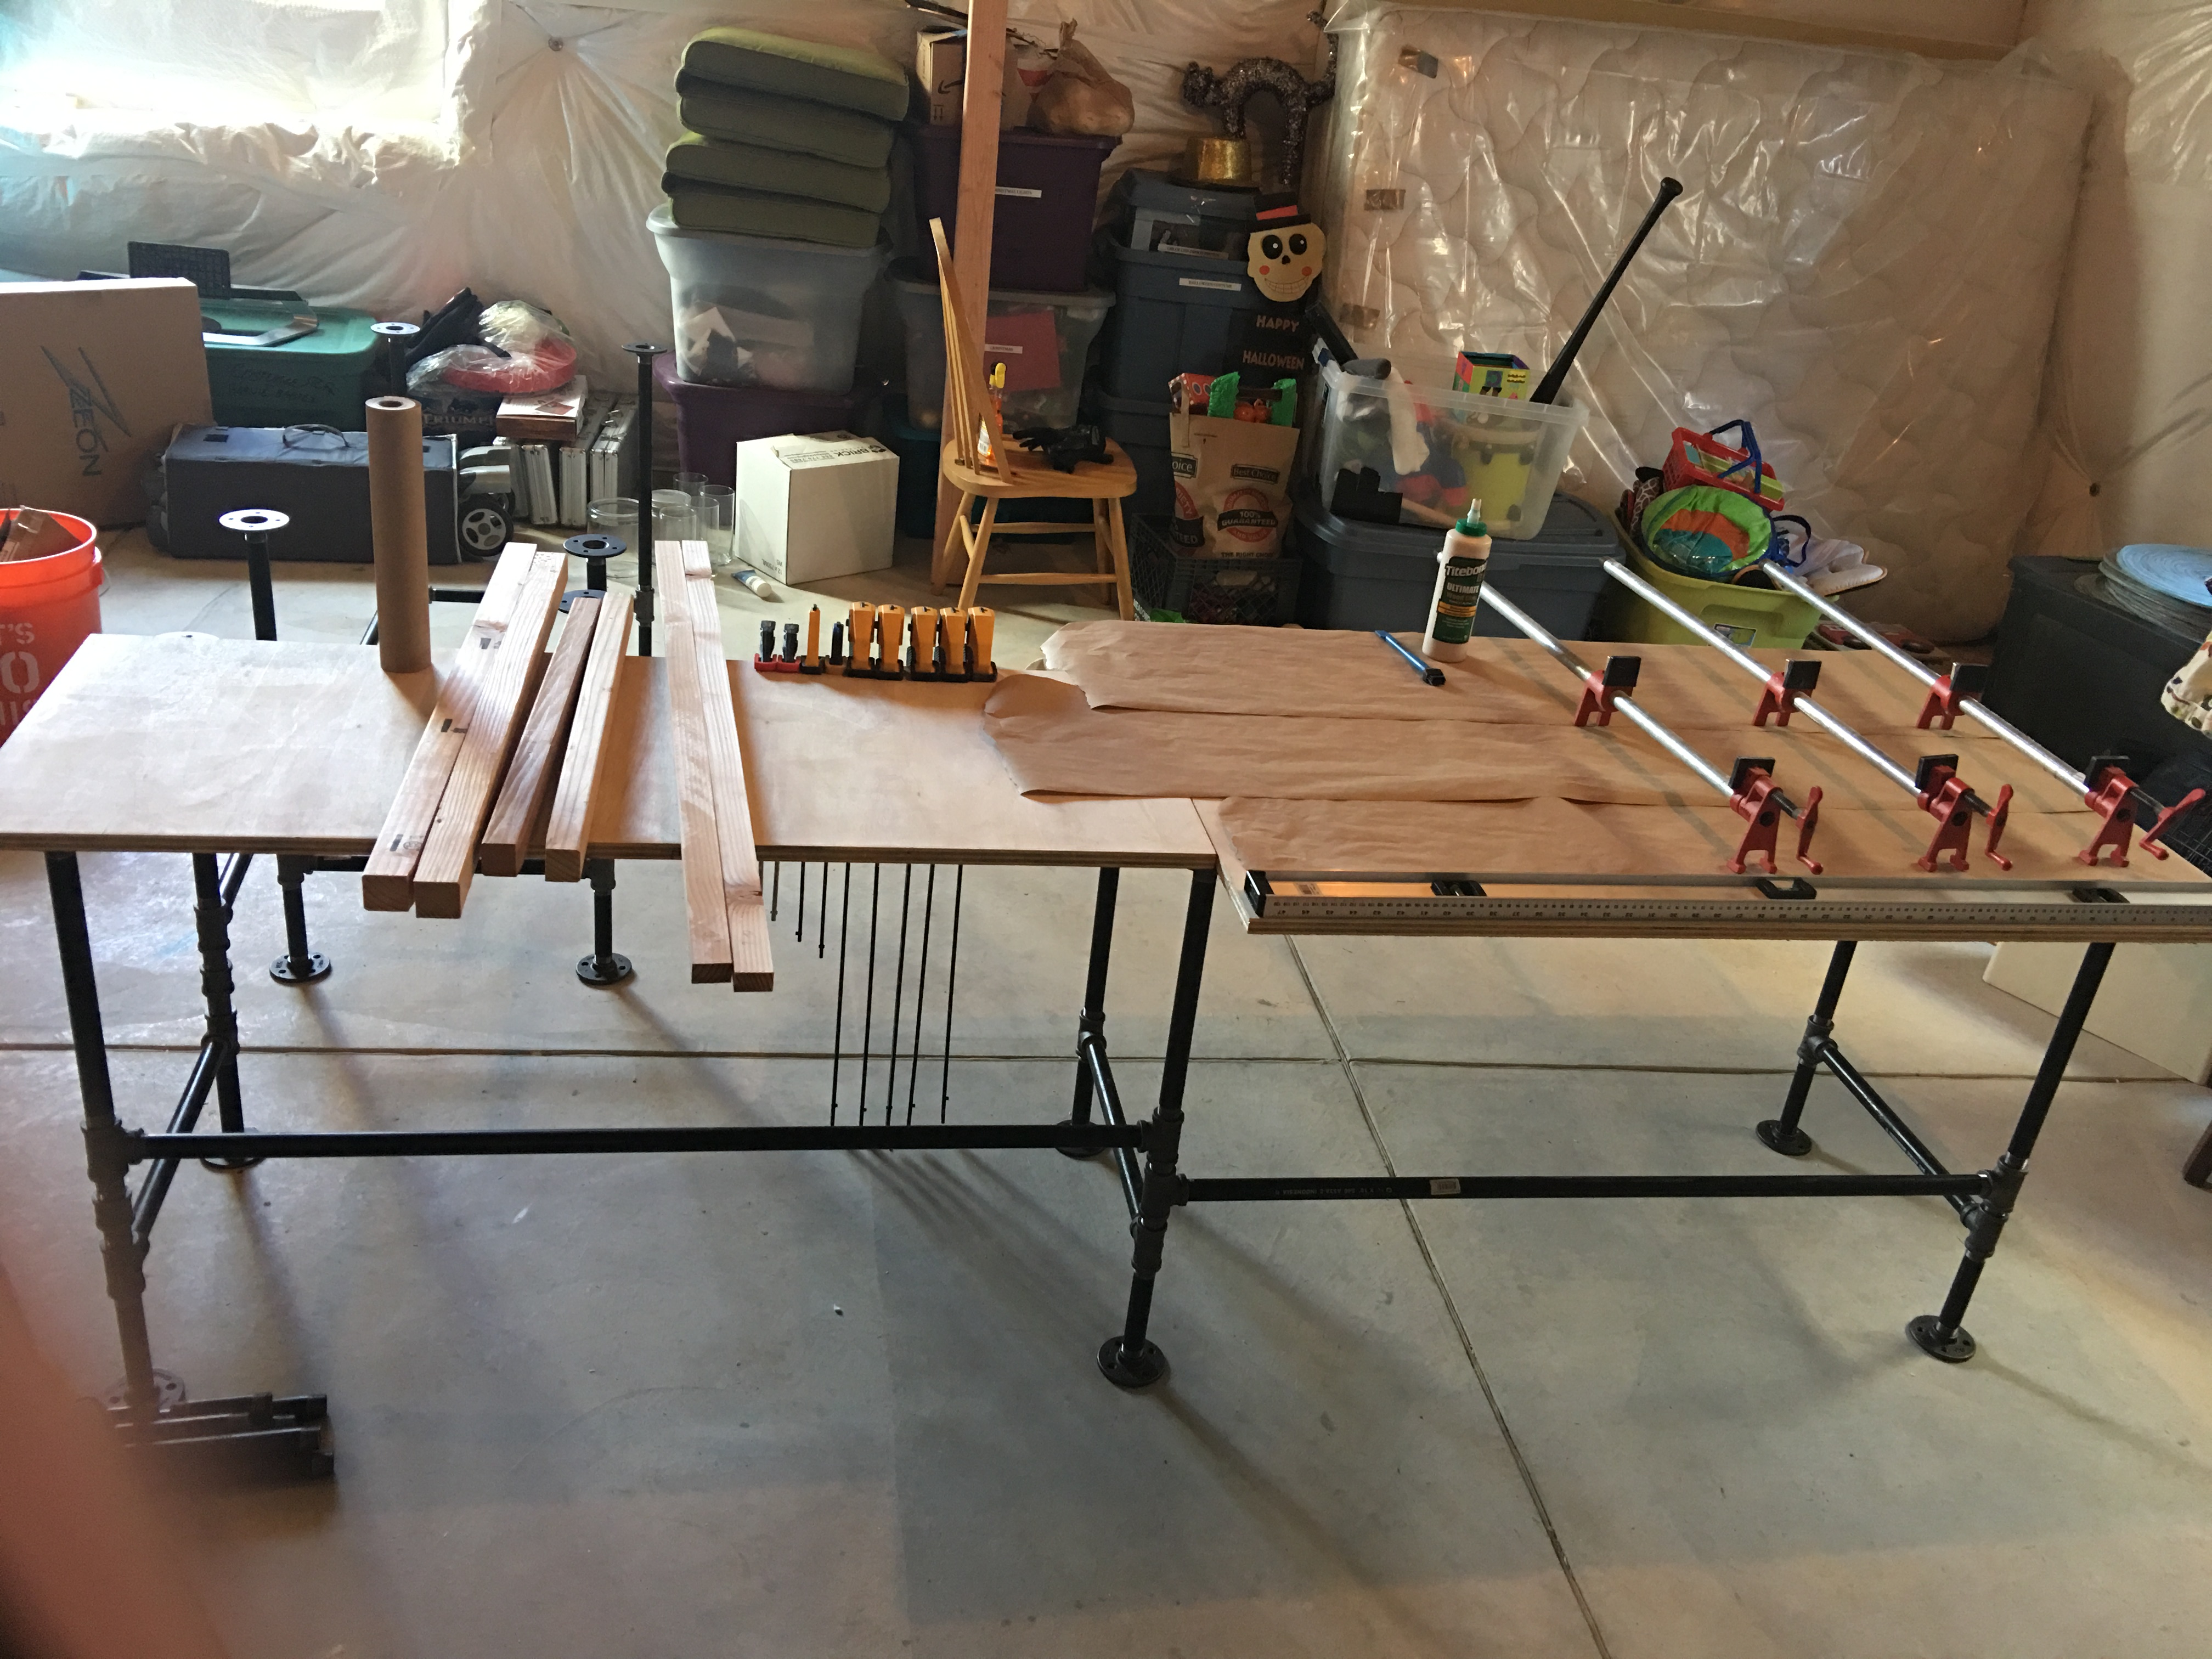
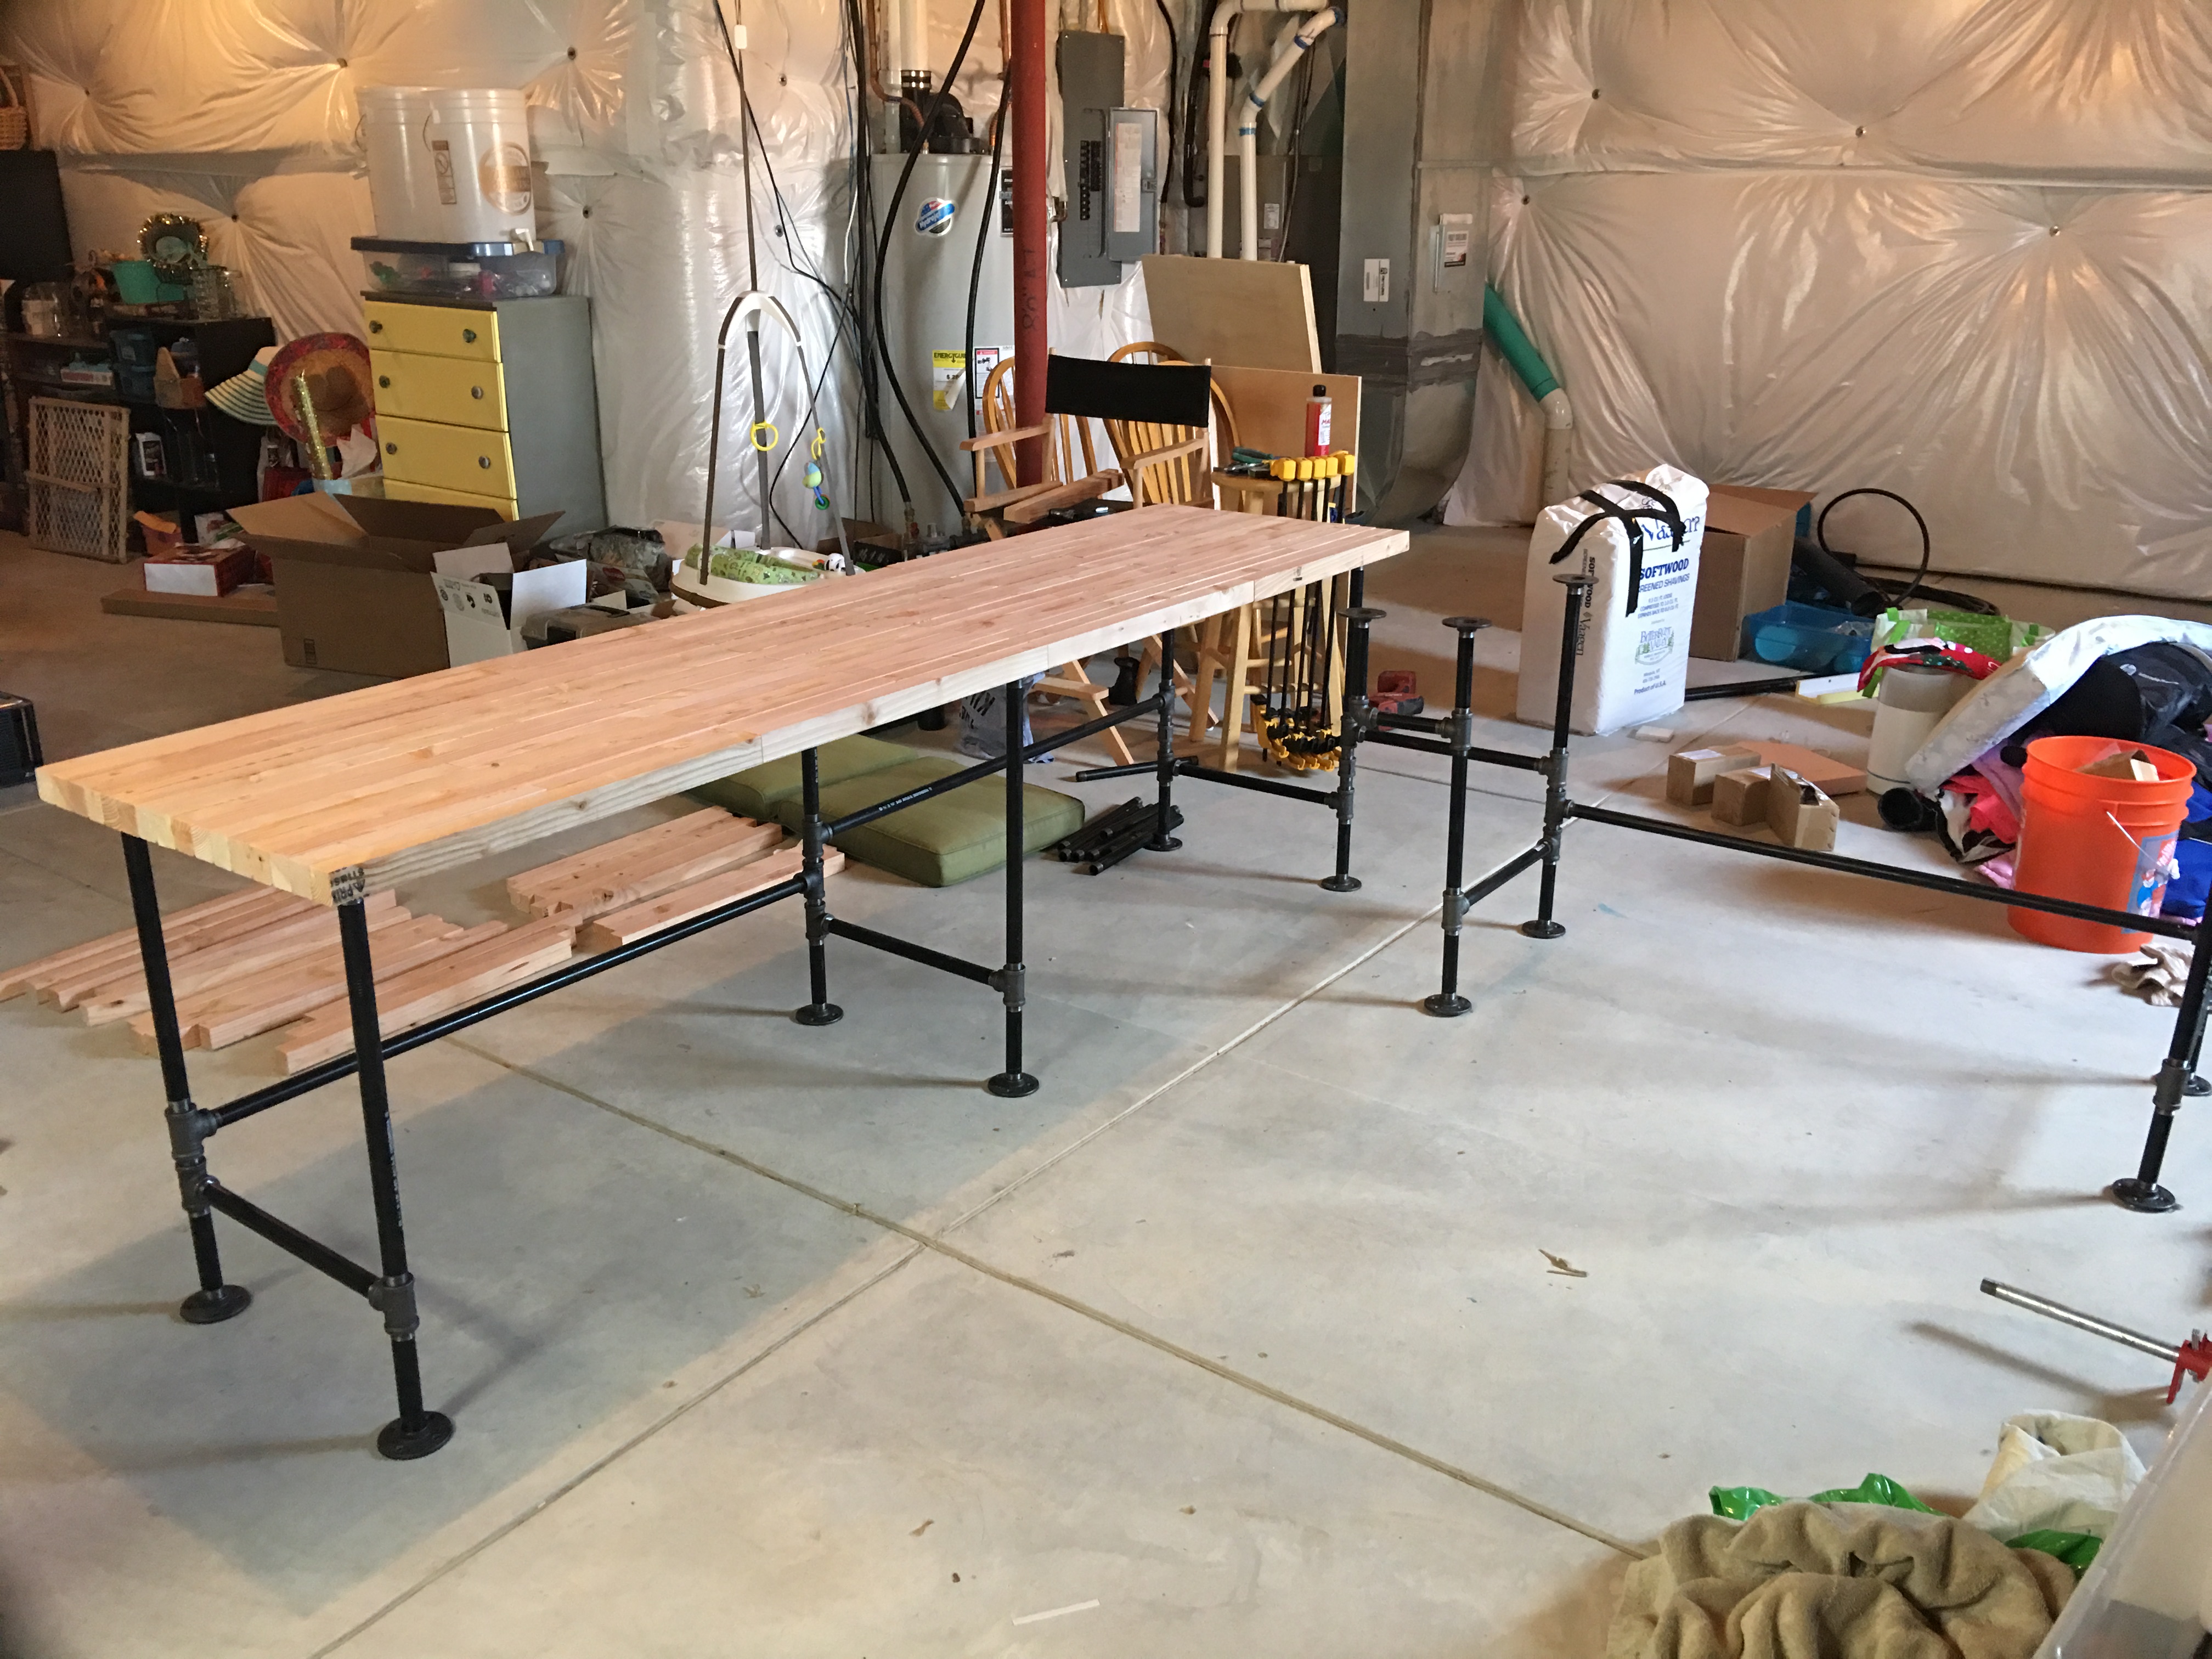
Pipes Assembled
After 3-4 assemble and dissassemble sequences due to fitting issues, the base is ready to accept a top.

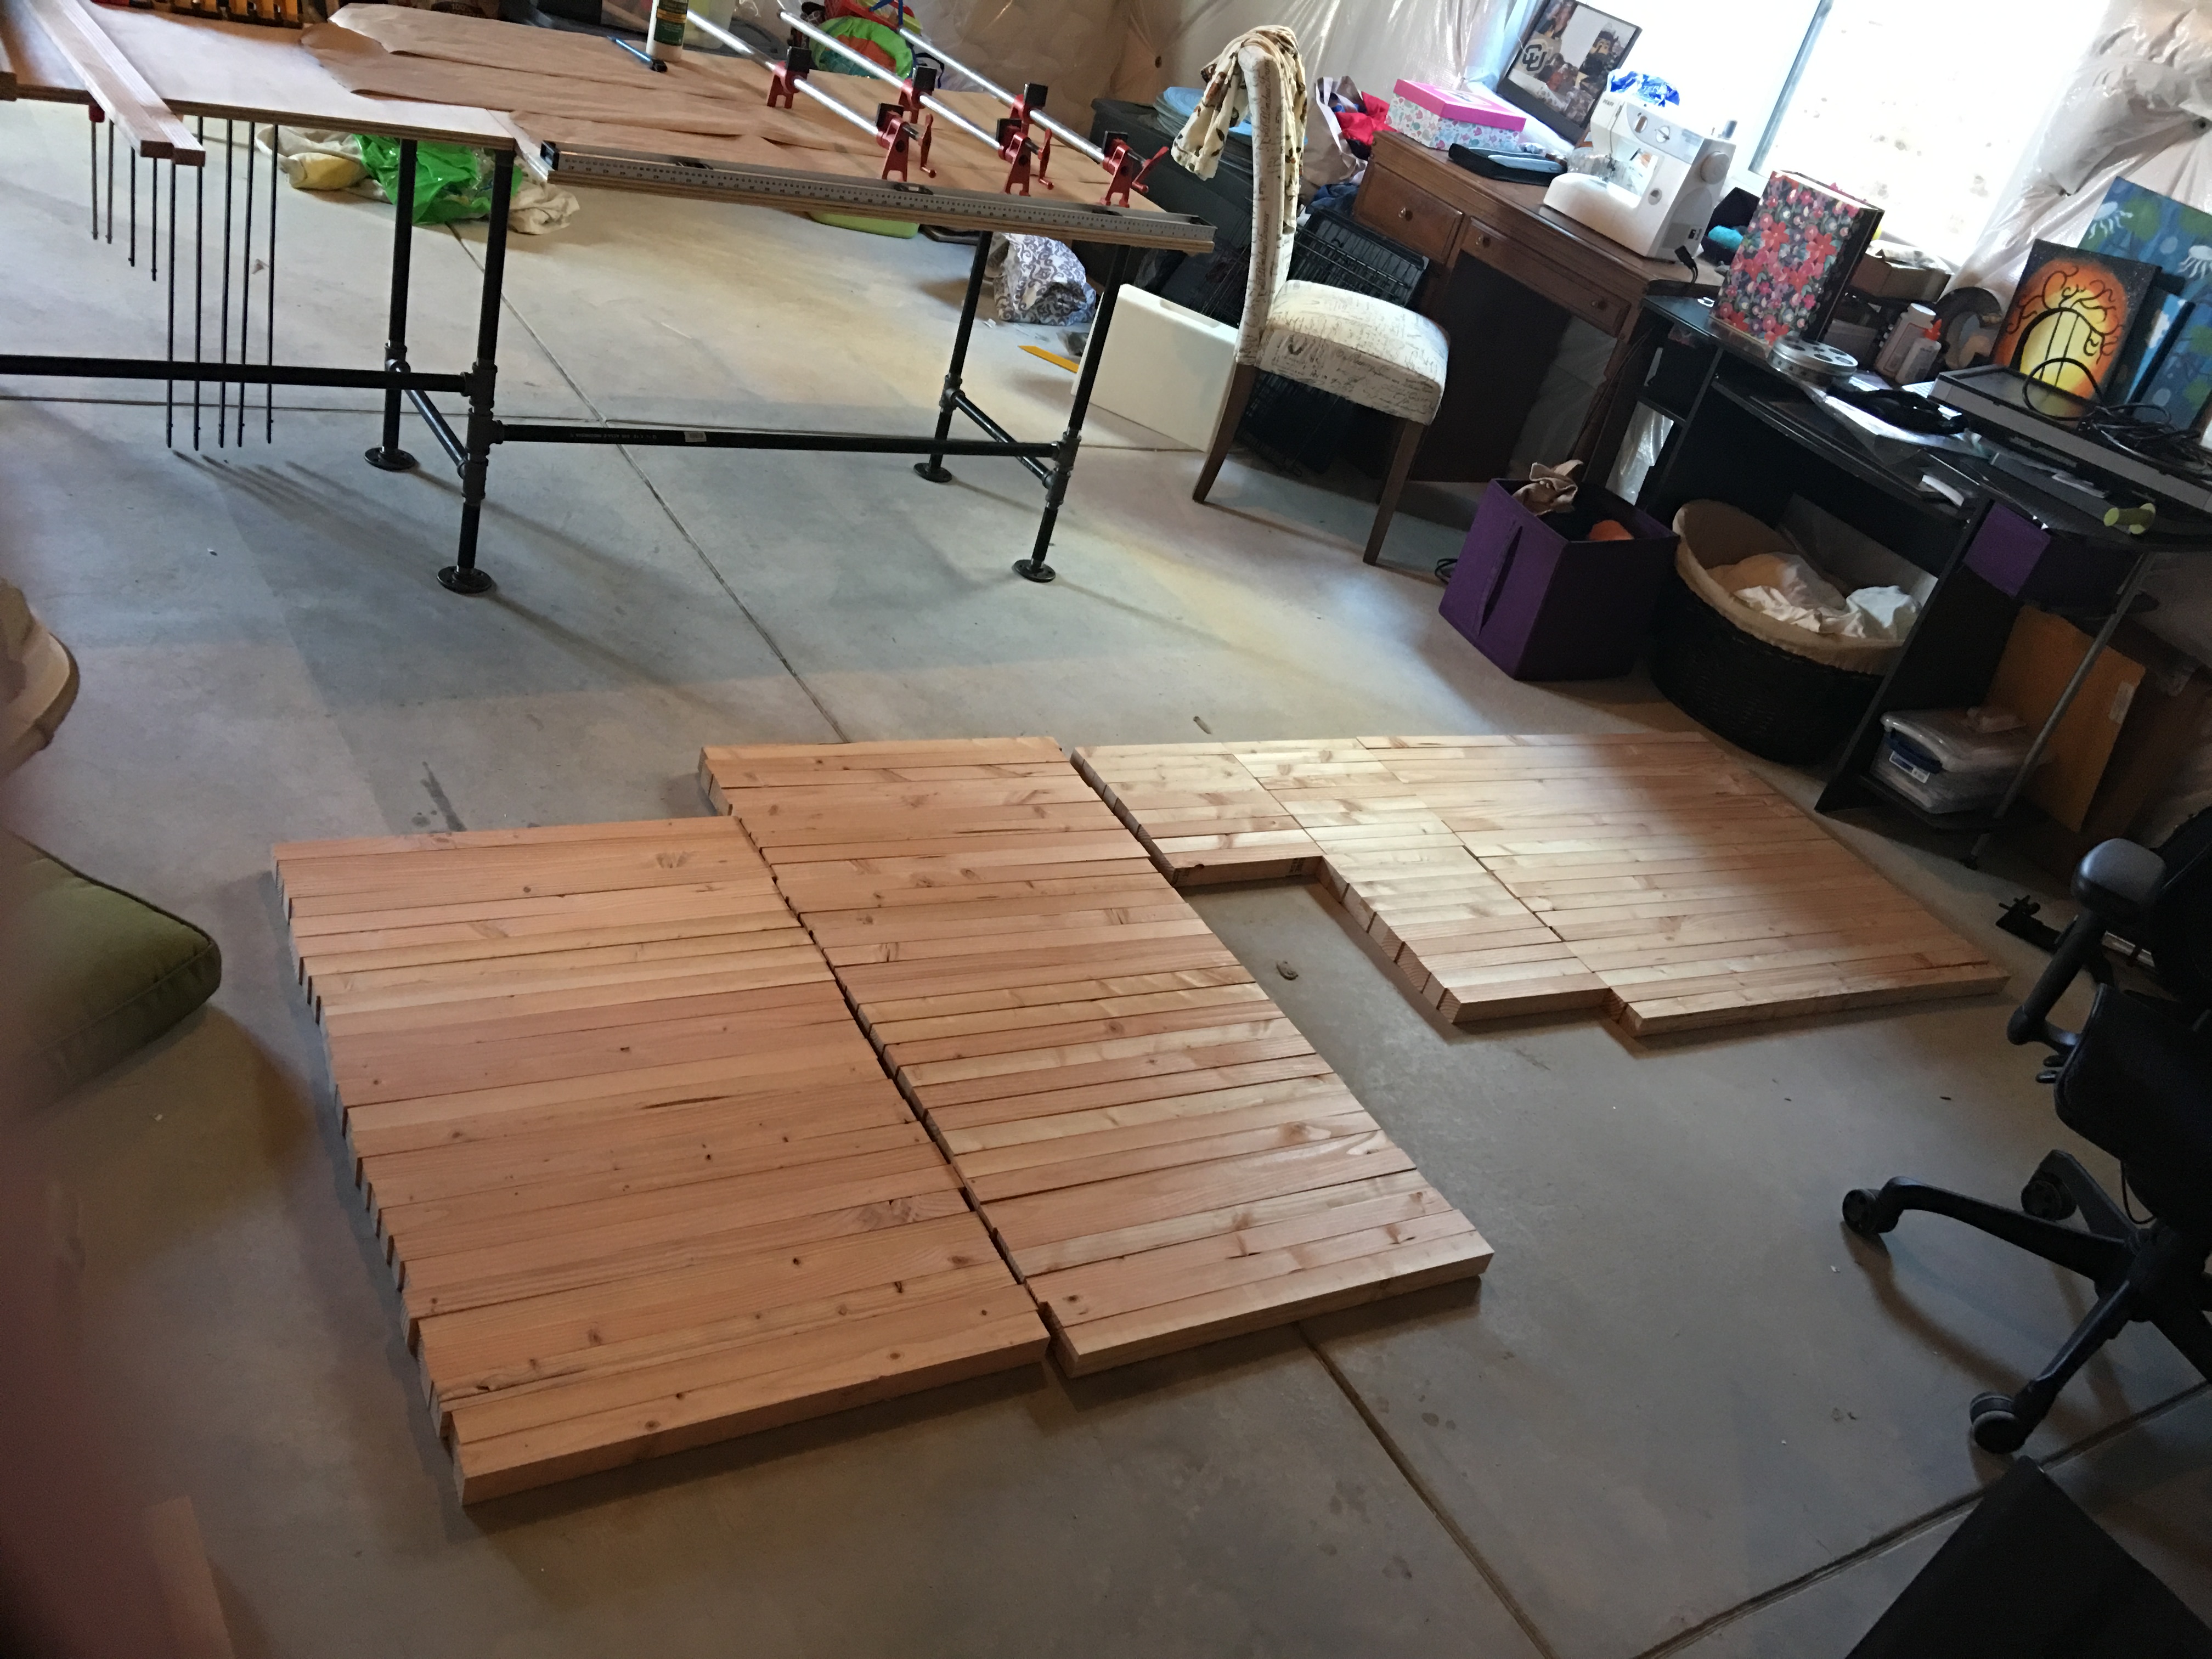
ALL of the base layer boards
The base layer is made from 13 2"x4"x8 boards split down the center (esentially 2x2s). After splitting the boards with a table saw, they were sent through a thickness planner to get them all down to equal thickness. These were glued up to form a butcher block style table.
The Glue-Up Begins
The pipe base provided a nice support structure for some spare 3/4" plywood I had leftover from another project. Doing glue-up on the plywood provided a nice flat surface to reference off of.
8' Glued Up
The 8' section is glued up. Time to move on to the 5' section.
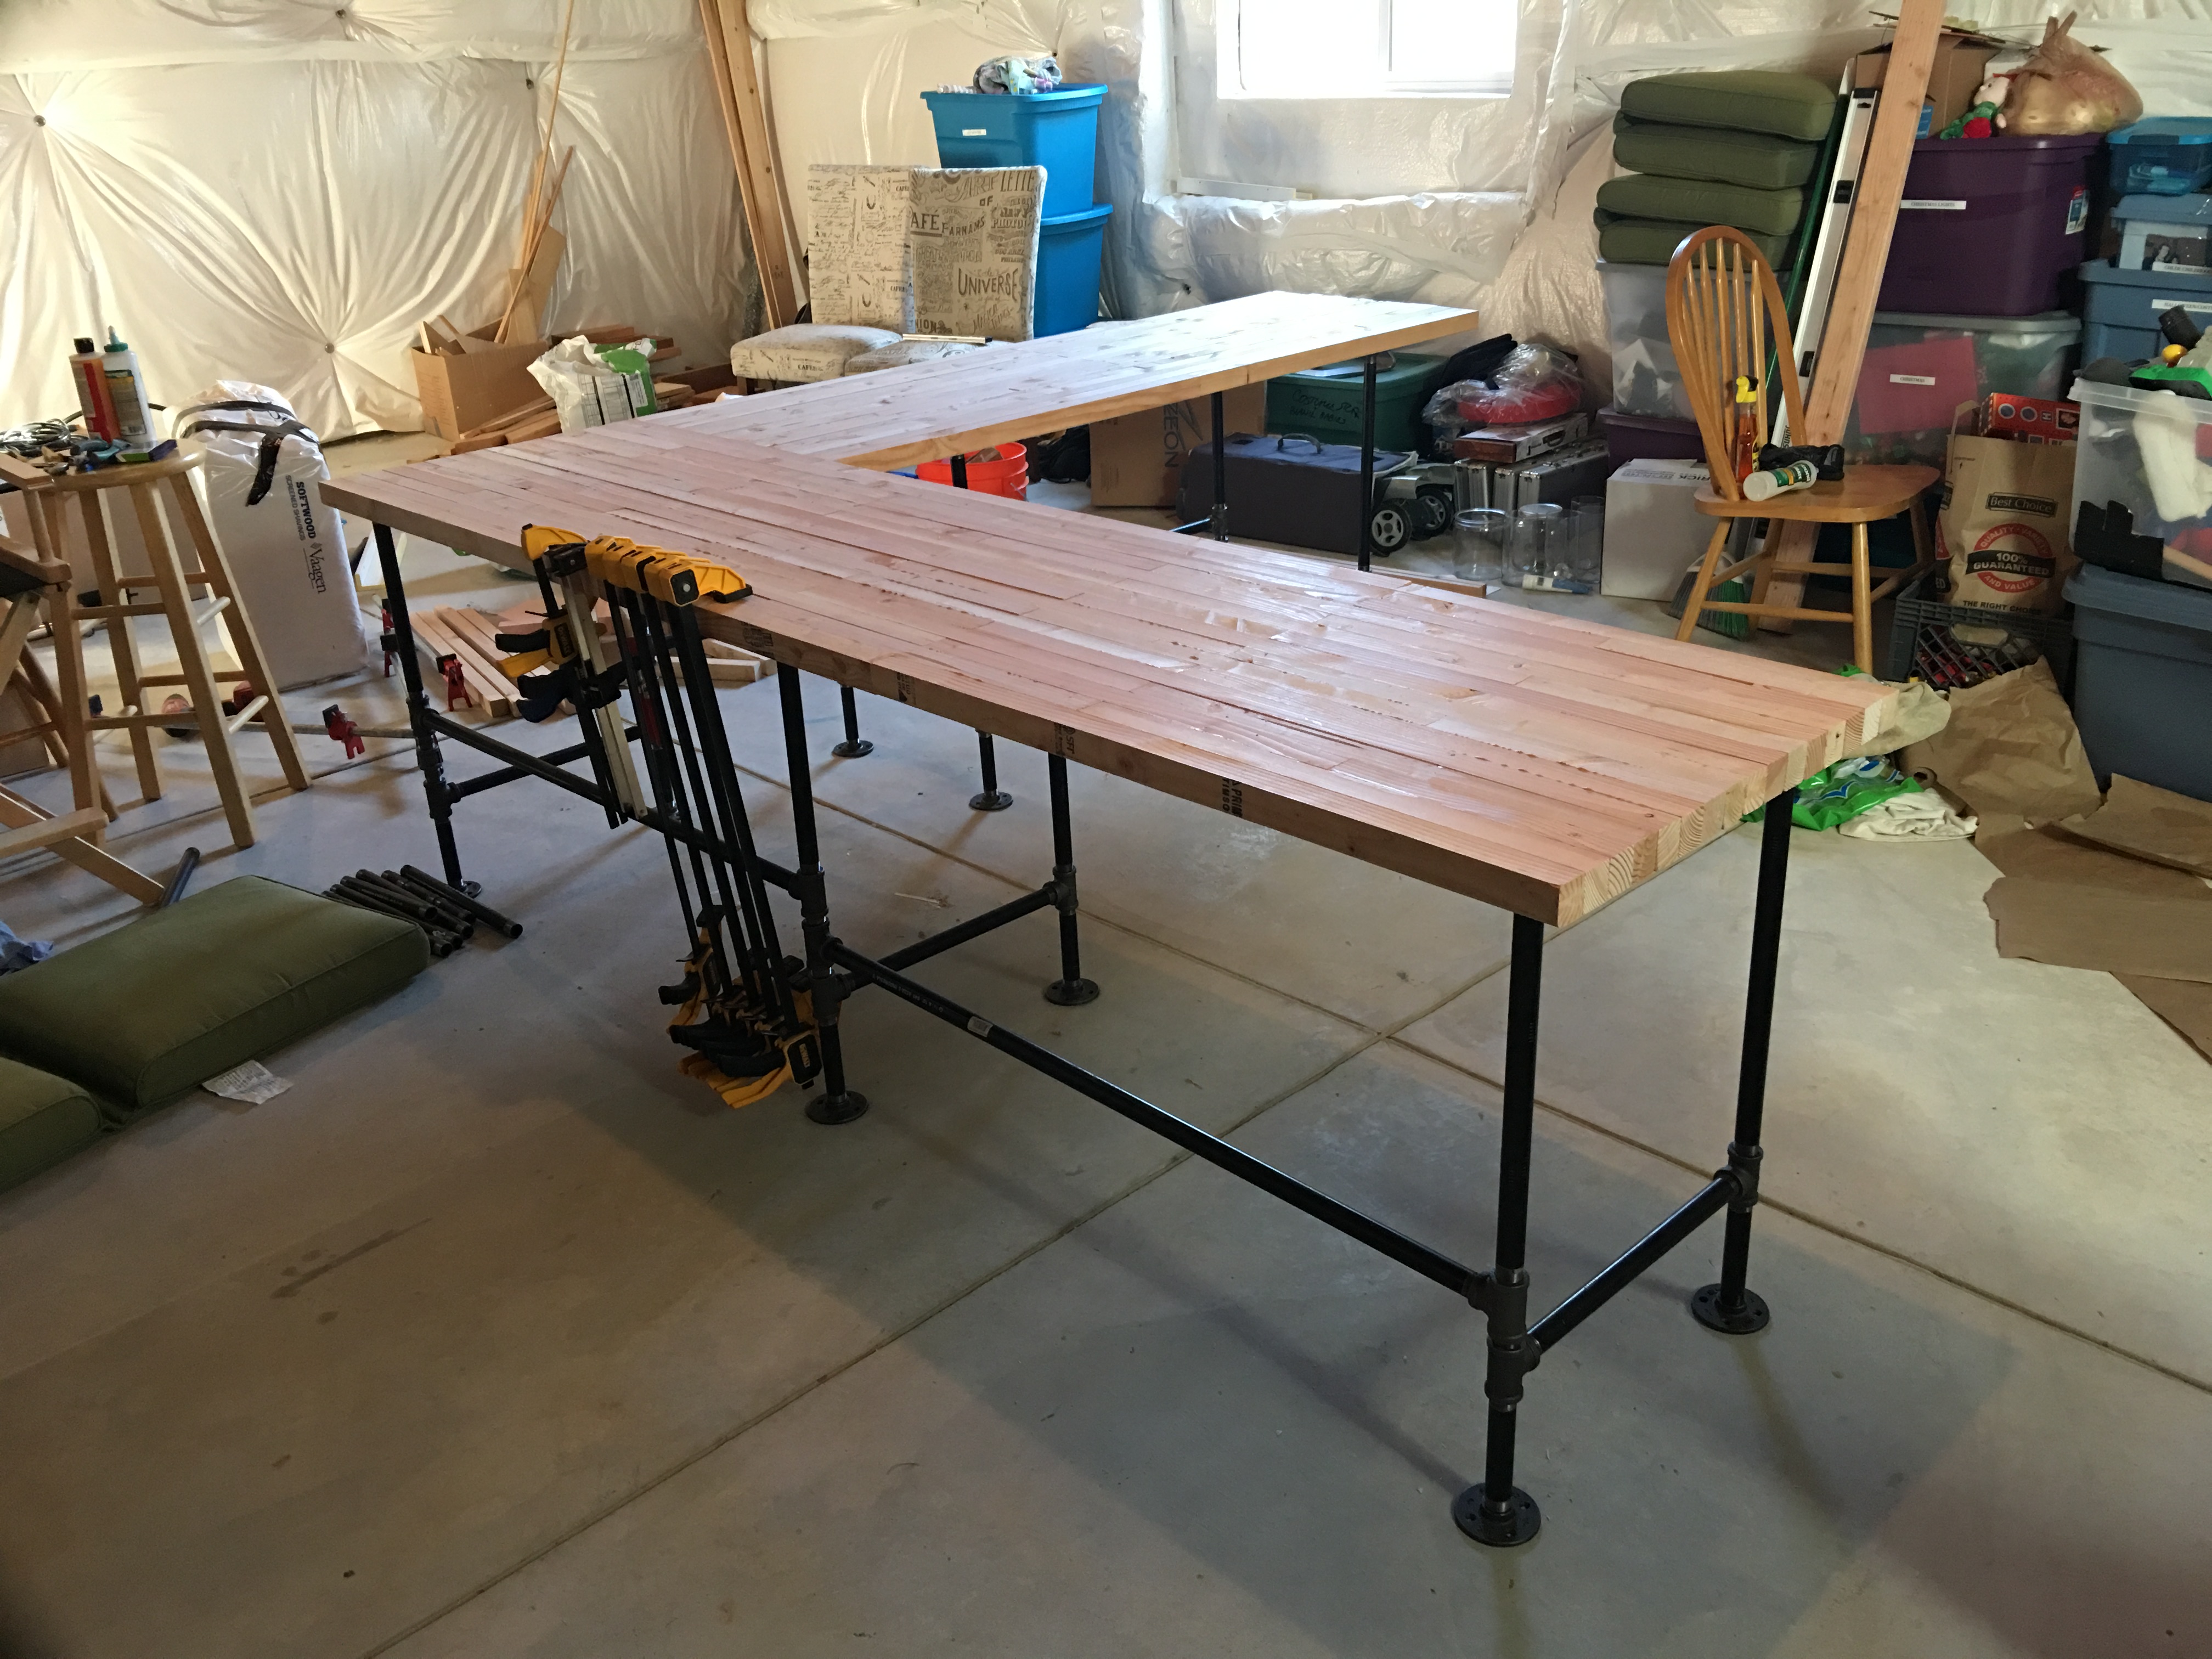
All Glued Up
With the 5' section glued-up, it's now time to start the long process of flattening the whole thing.
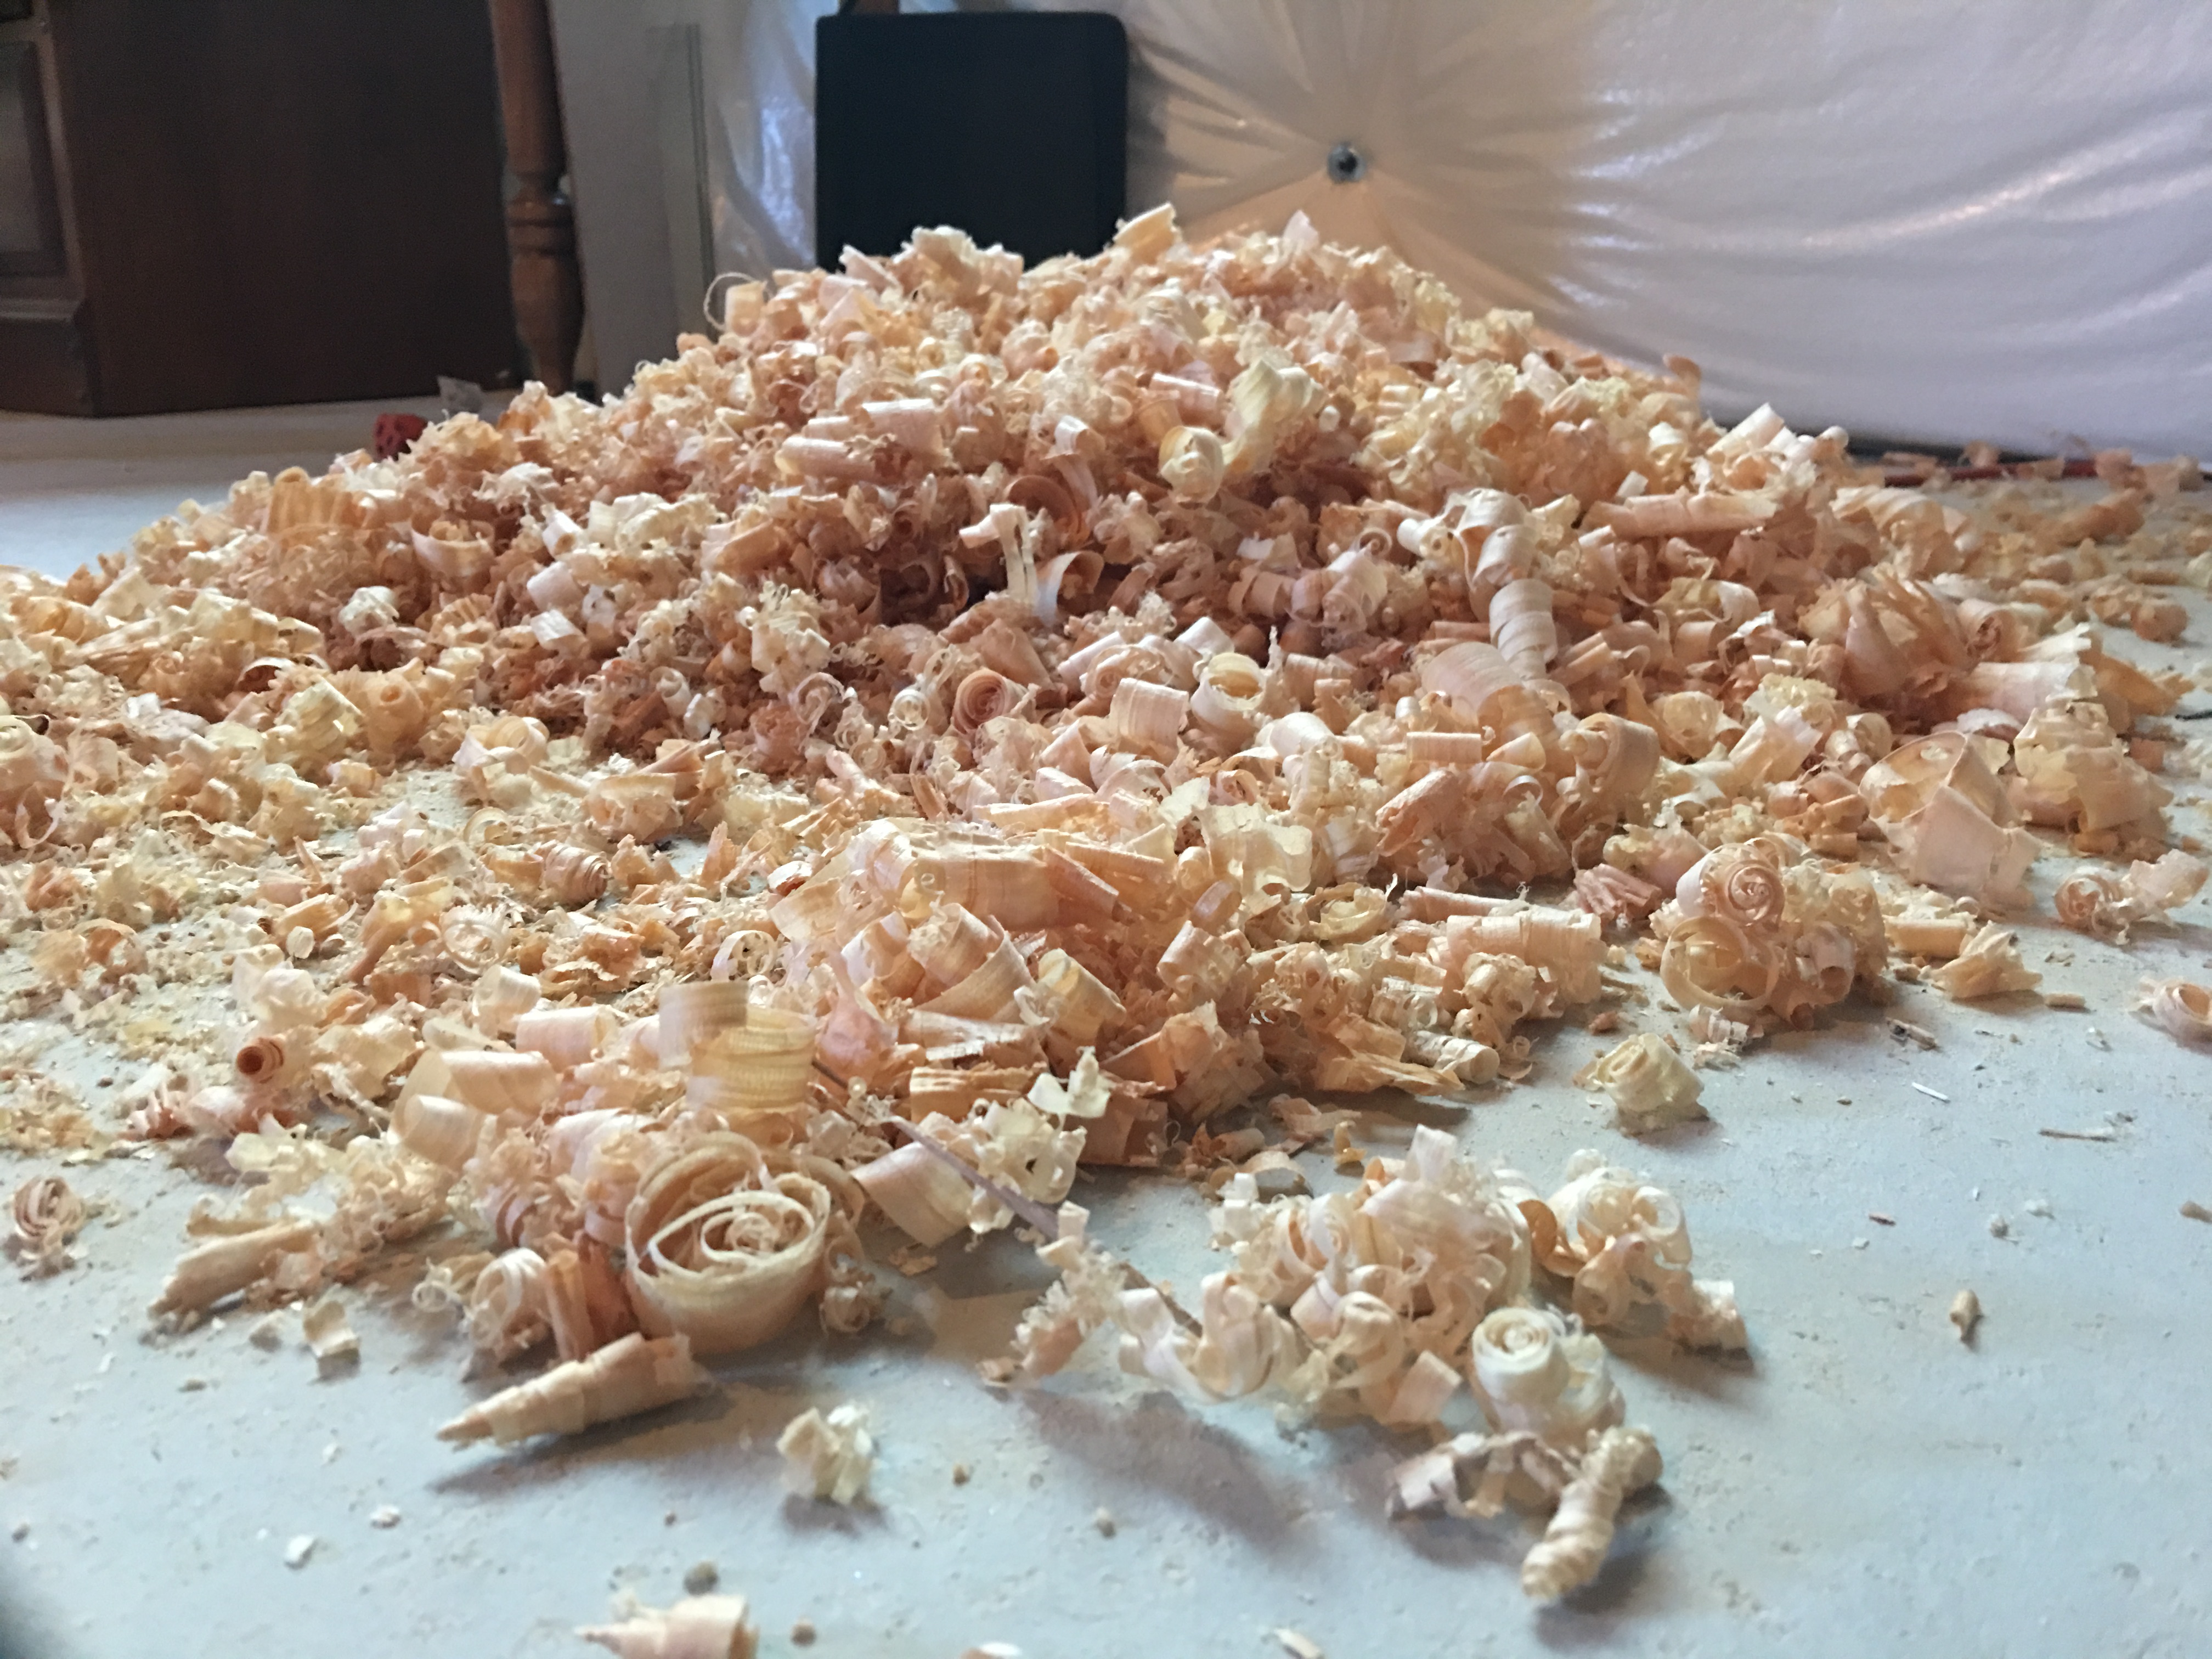
So Many Shavings
Since the depth of the table was 24", and my planner could only accept 12.5", I used a hand planner to flatten the top as best I could before sanding. This took a lot of time, but not as much as I expected. The shavings were manageable, but piled up and ended up all over the house.
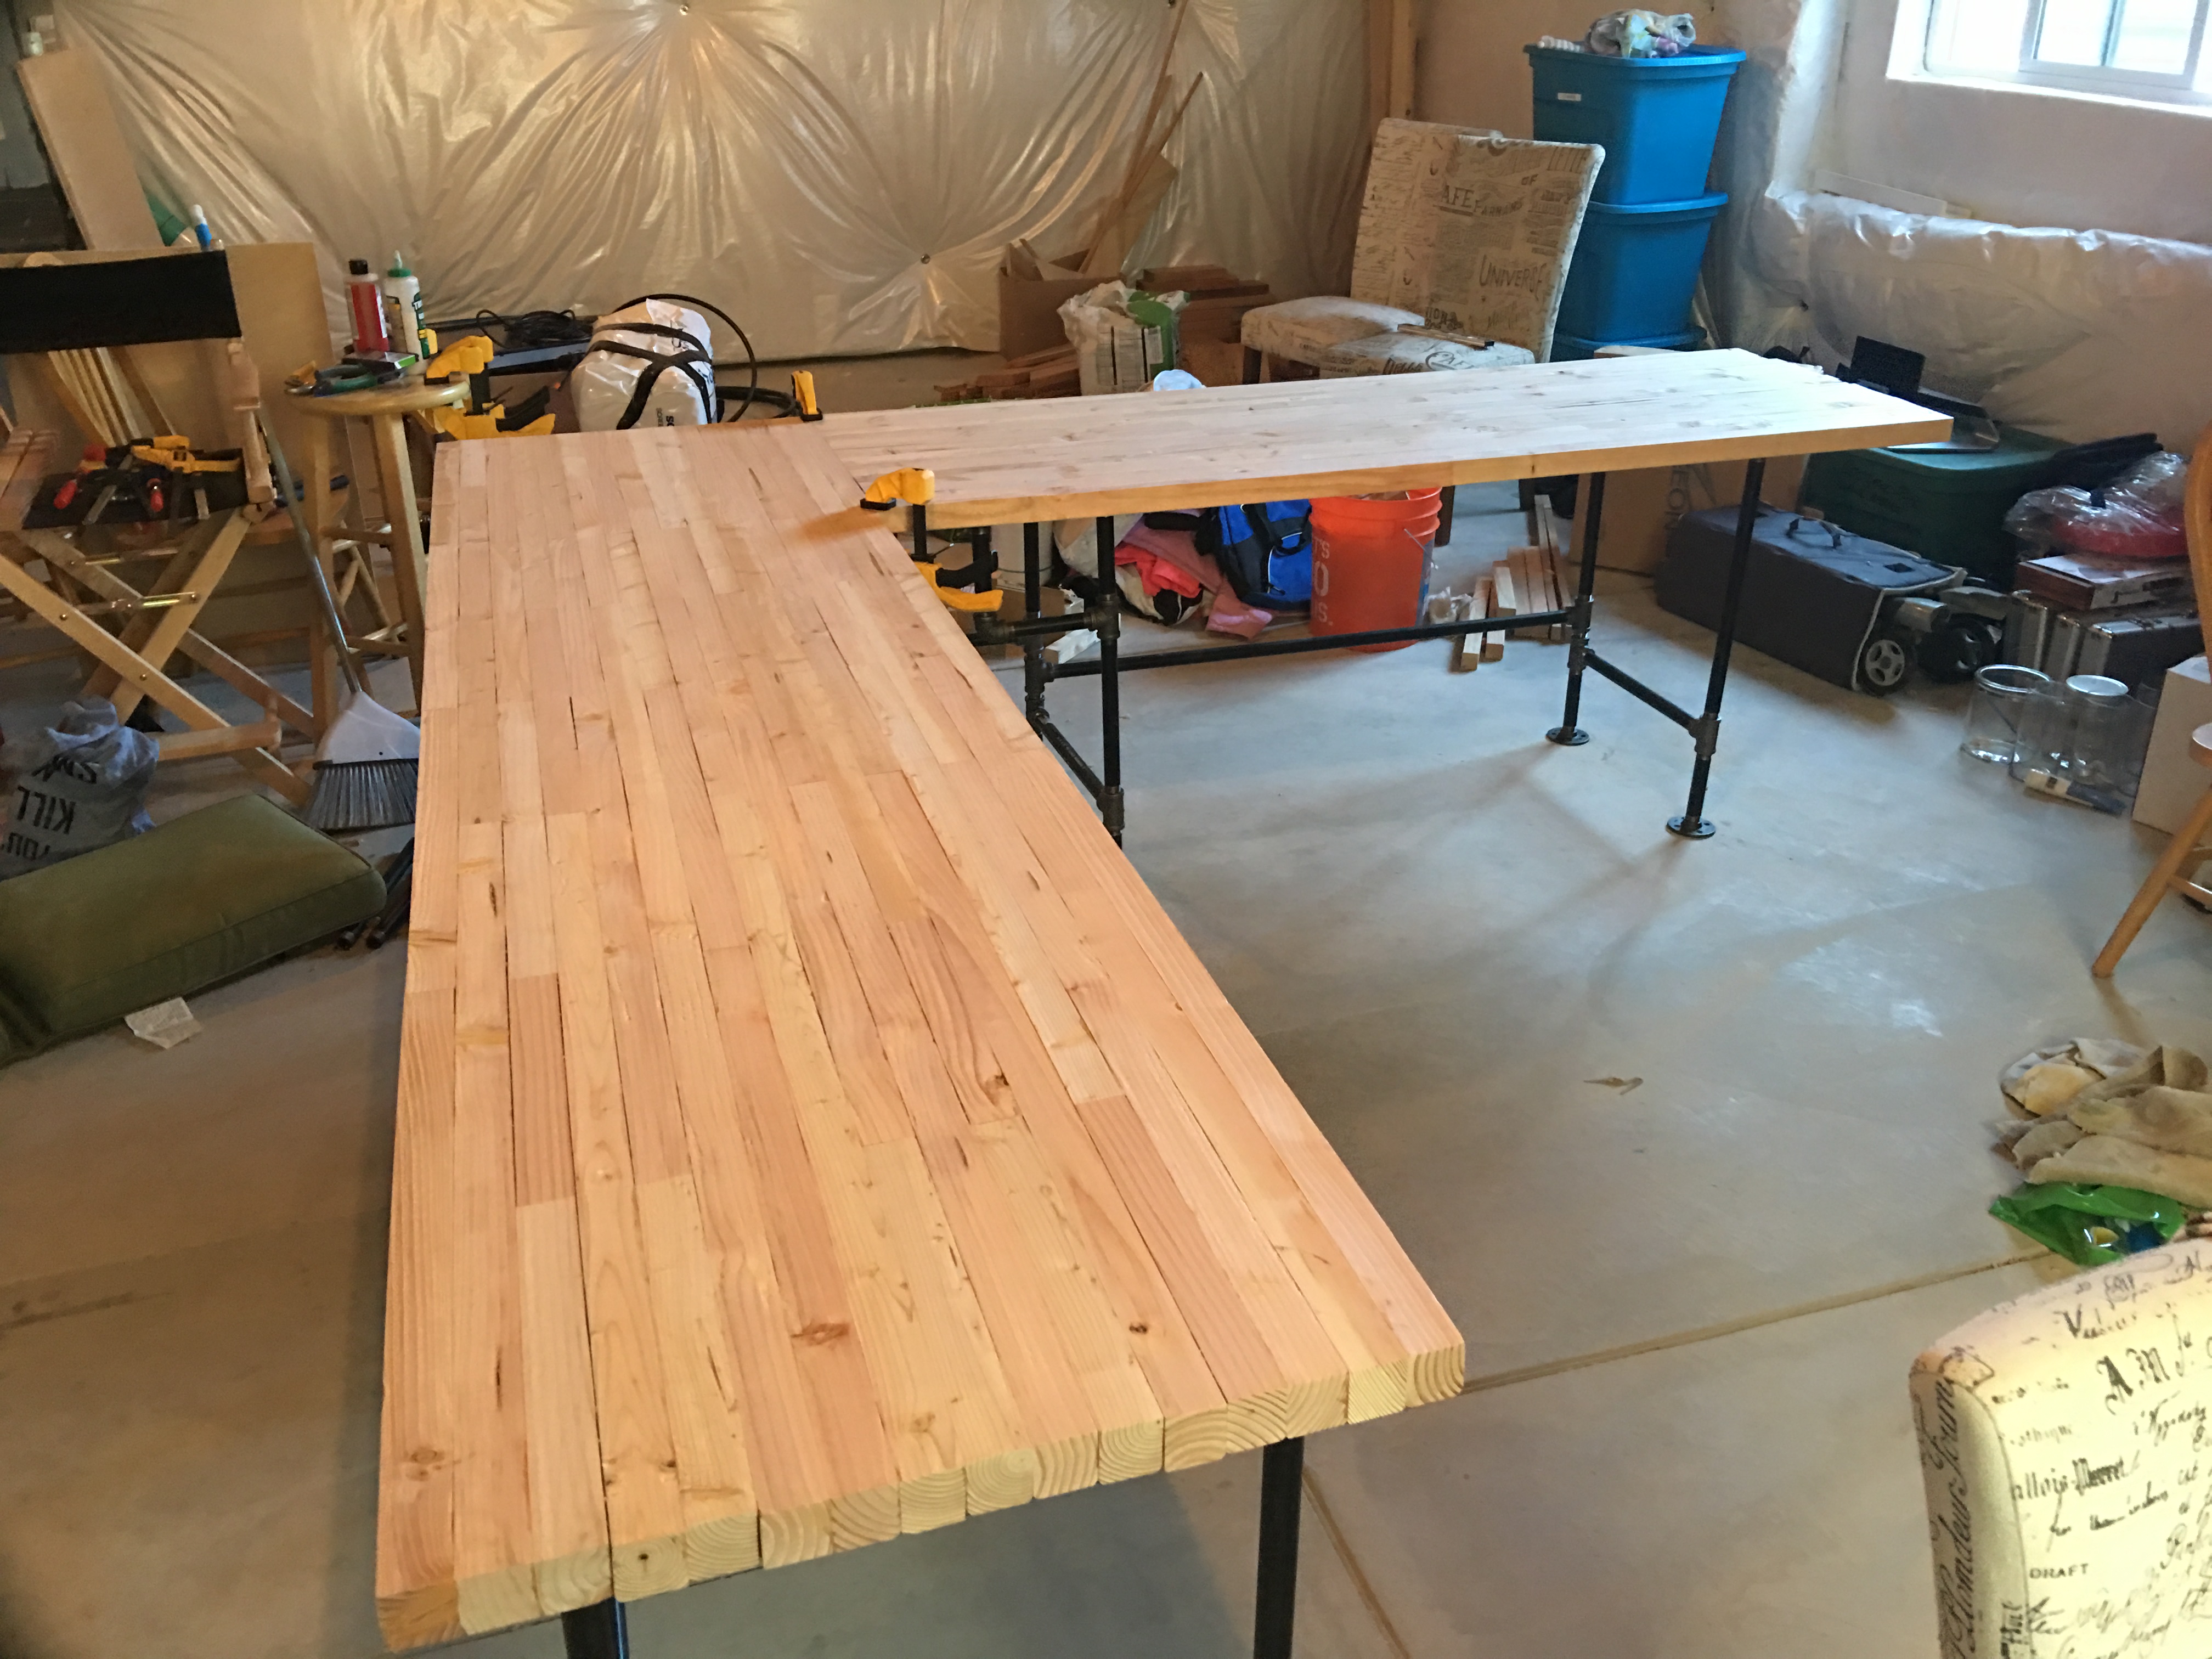
All Planed
Here is the table after hand planning, but before sanding and cleaning up the edges.

Plunge Routing to Attach the 2 Tables with Flat Brackets
After sanding, cleaning up the edges, and routing the edges, I flipped the tables over to plunge route a section between the tables where I could attach some flat brackets.
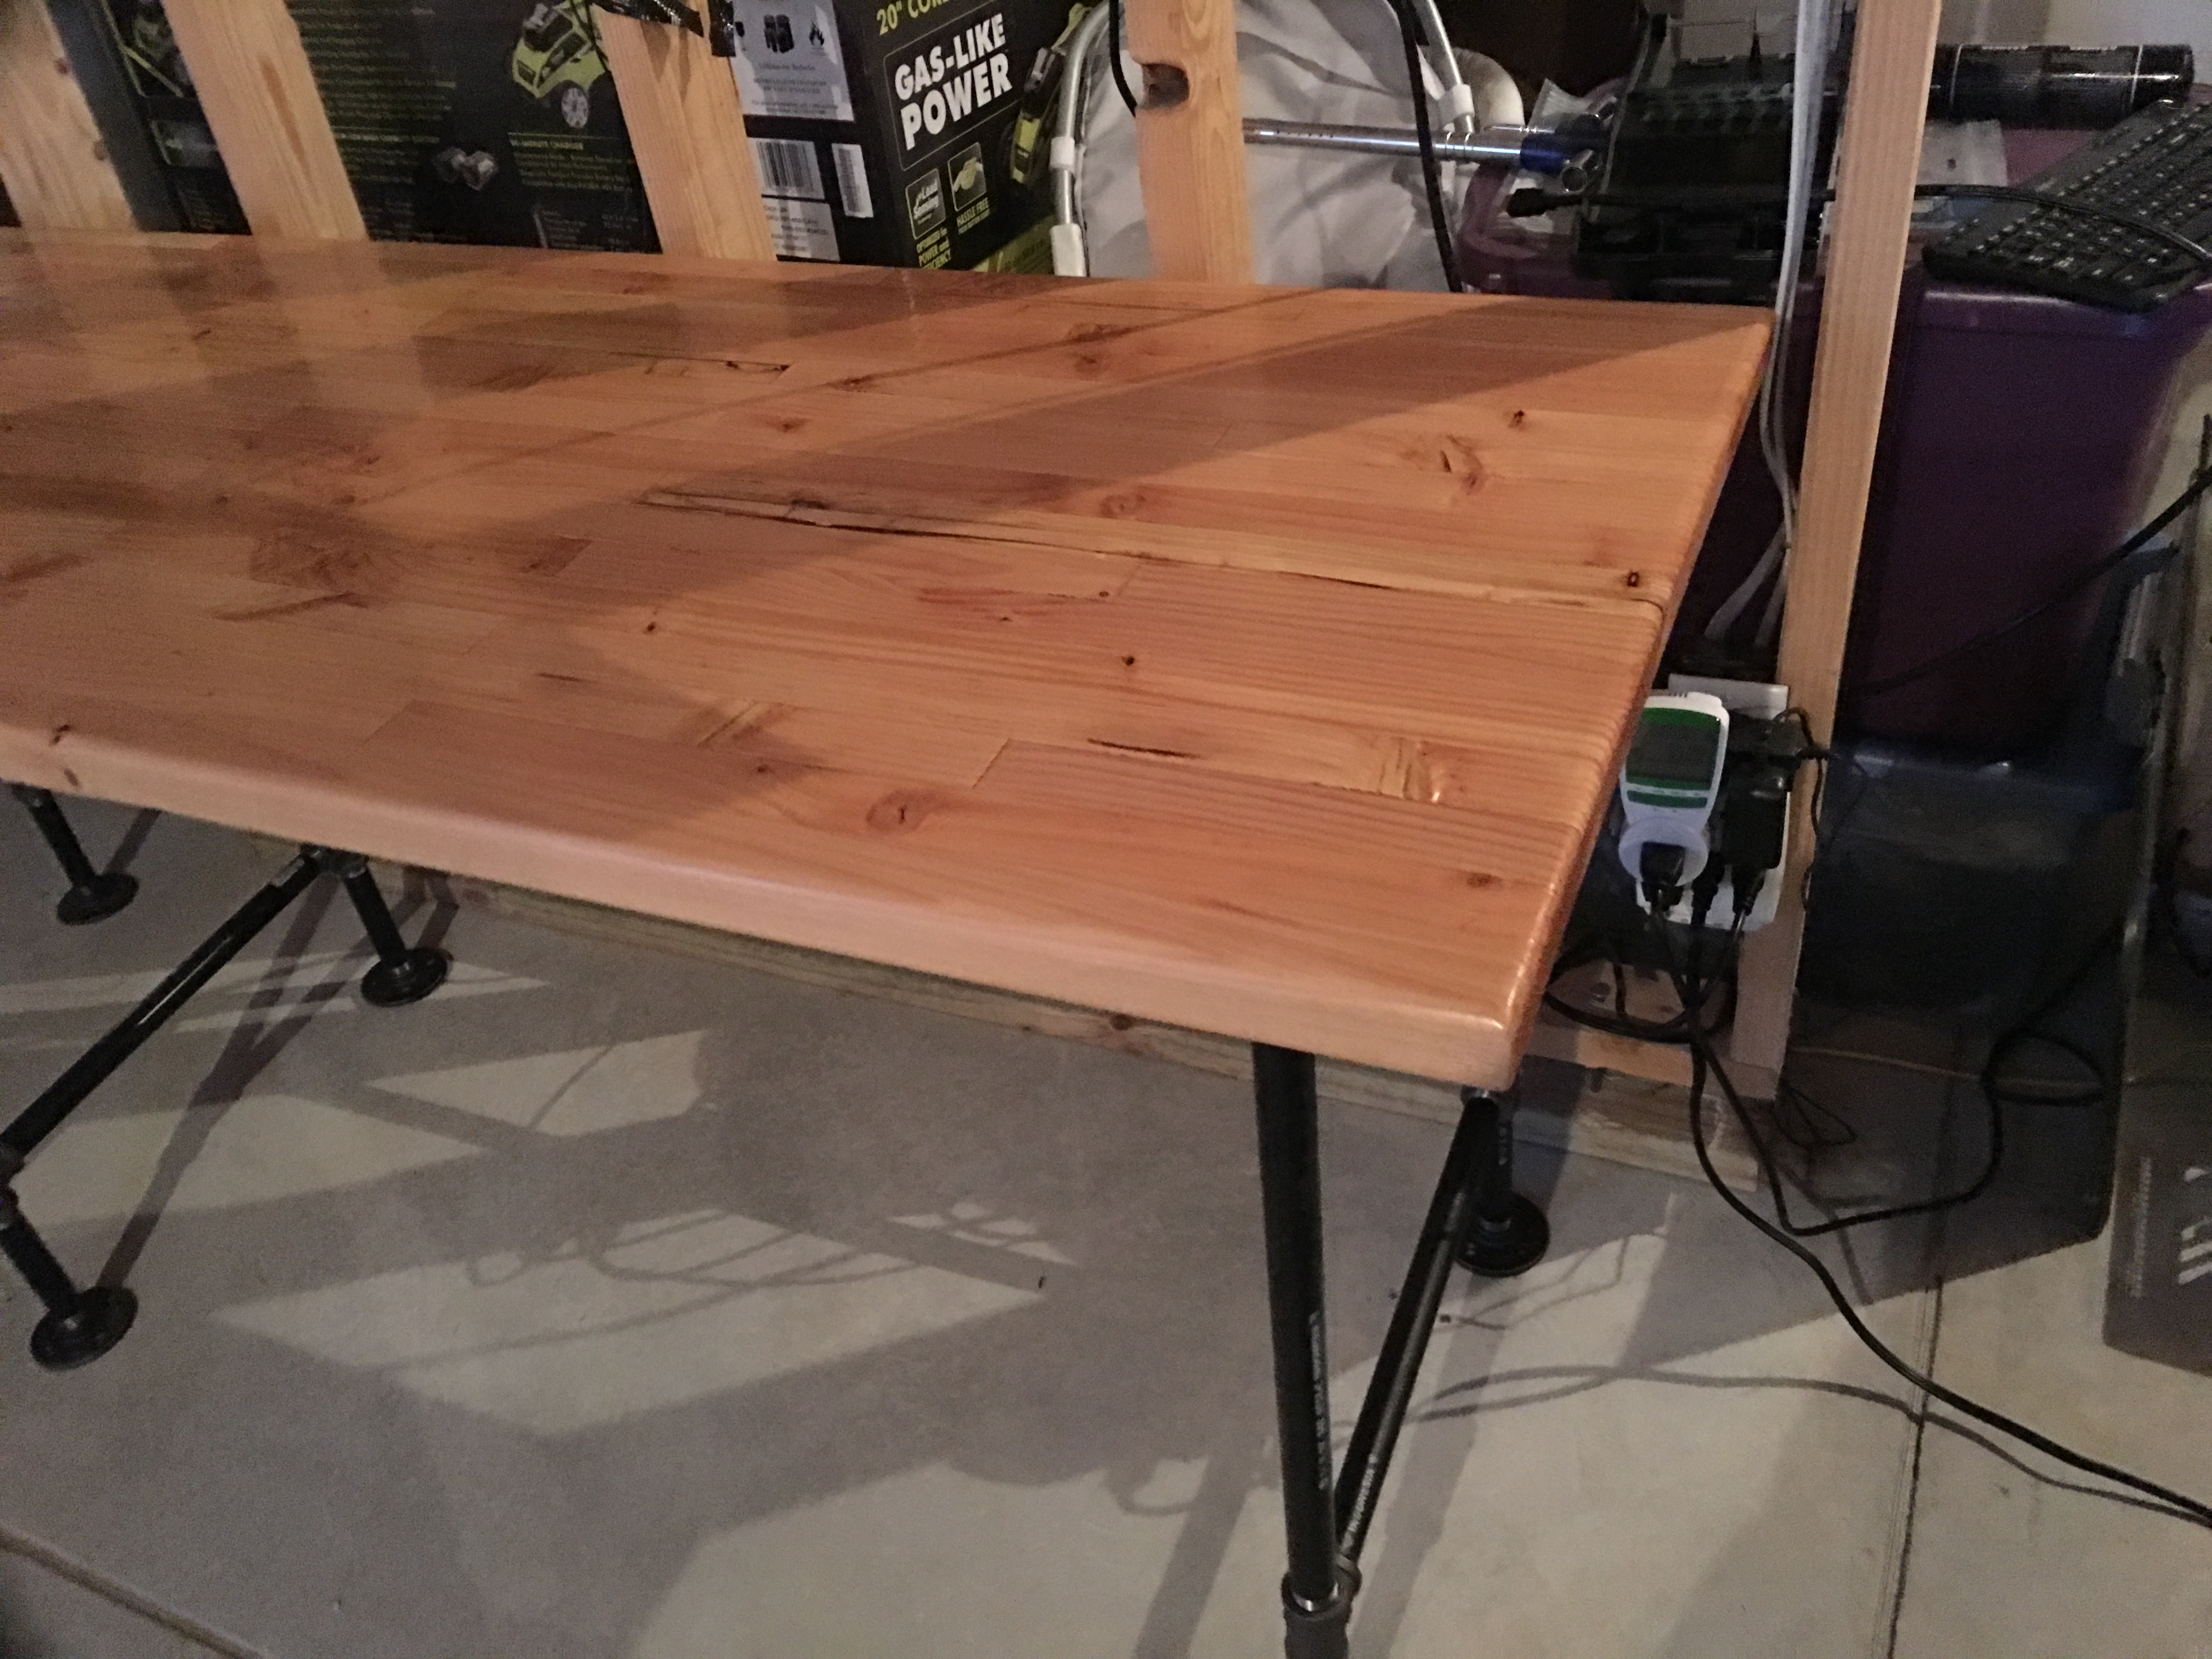
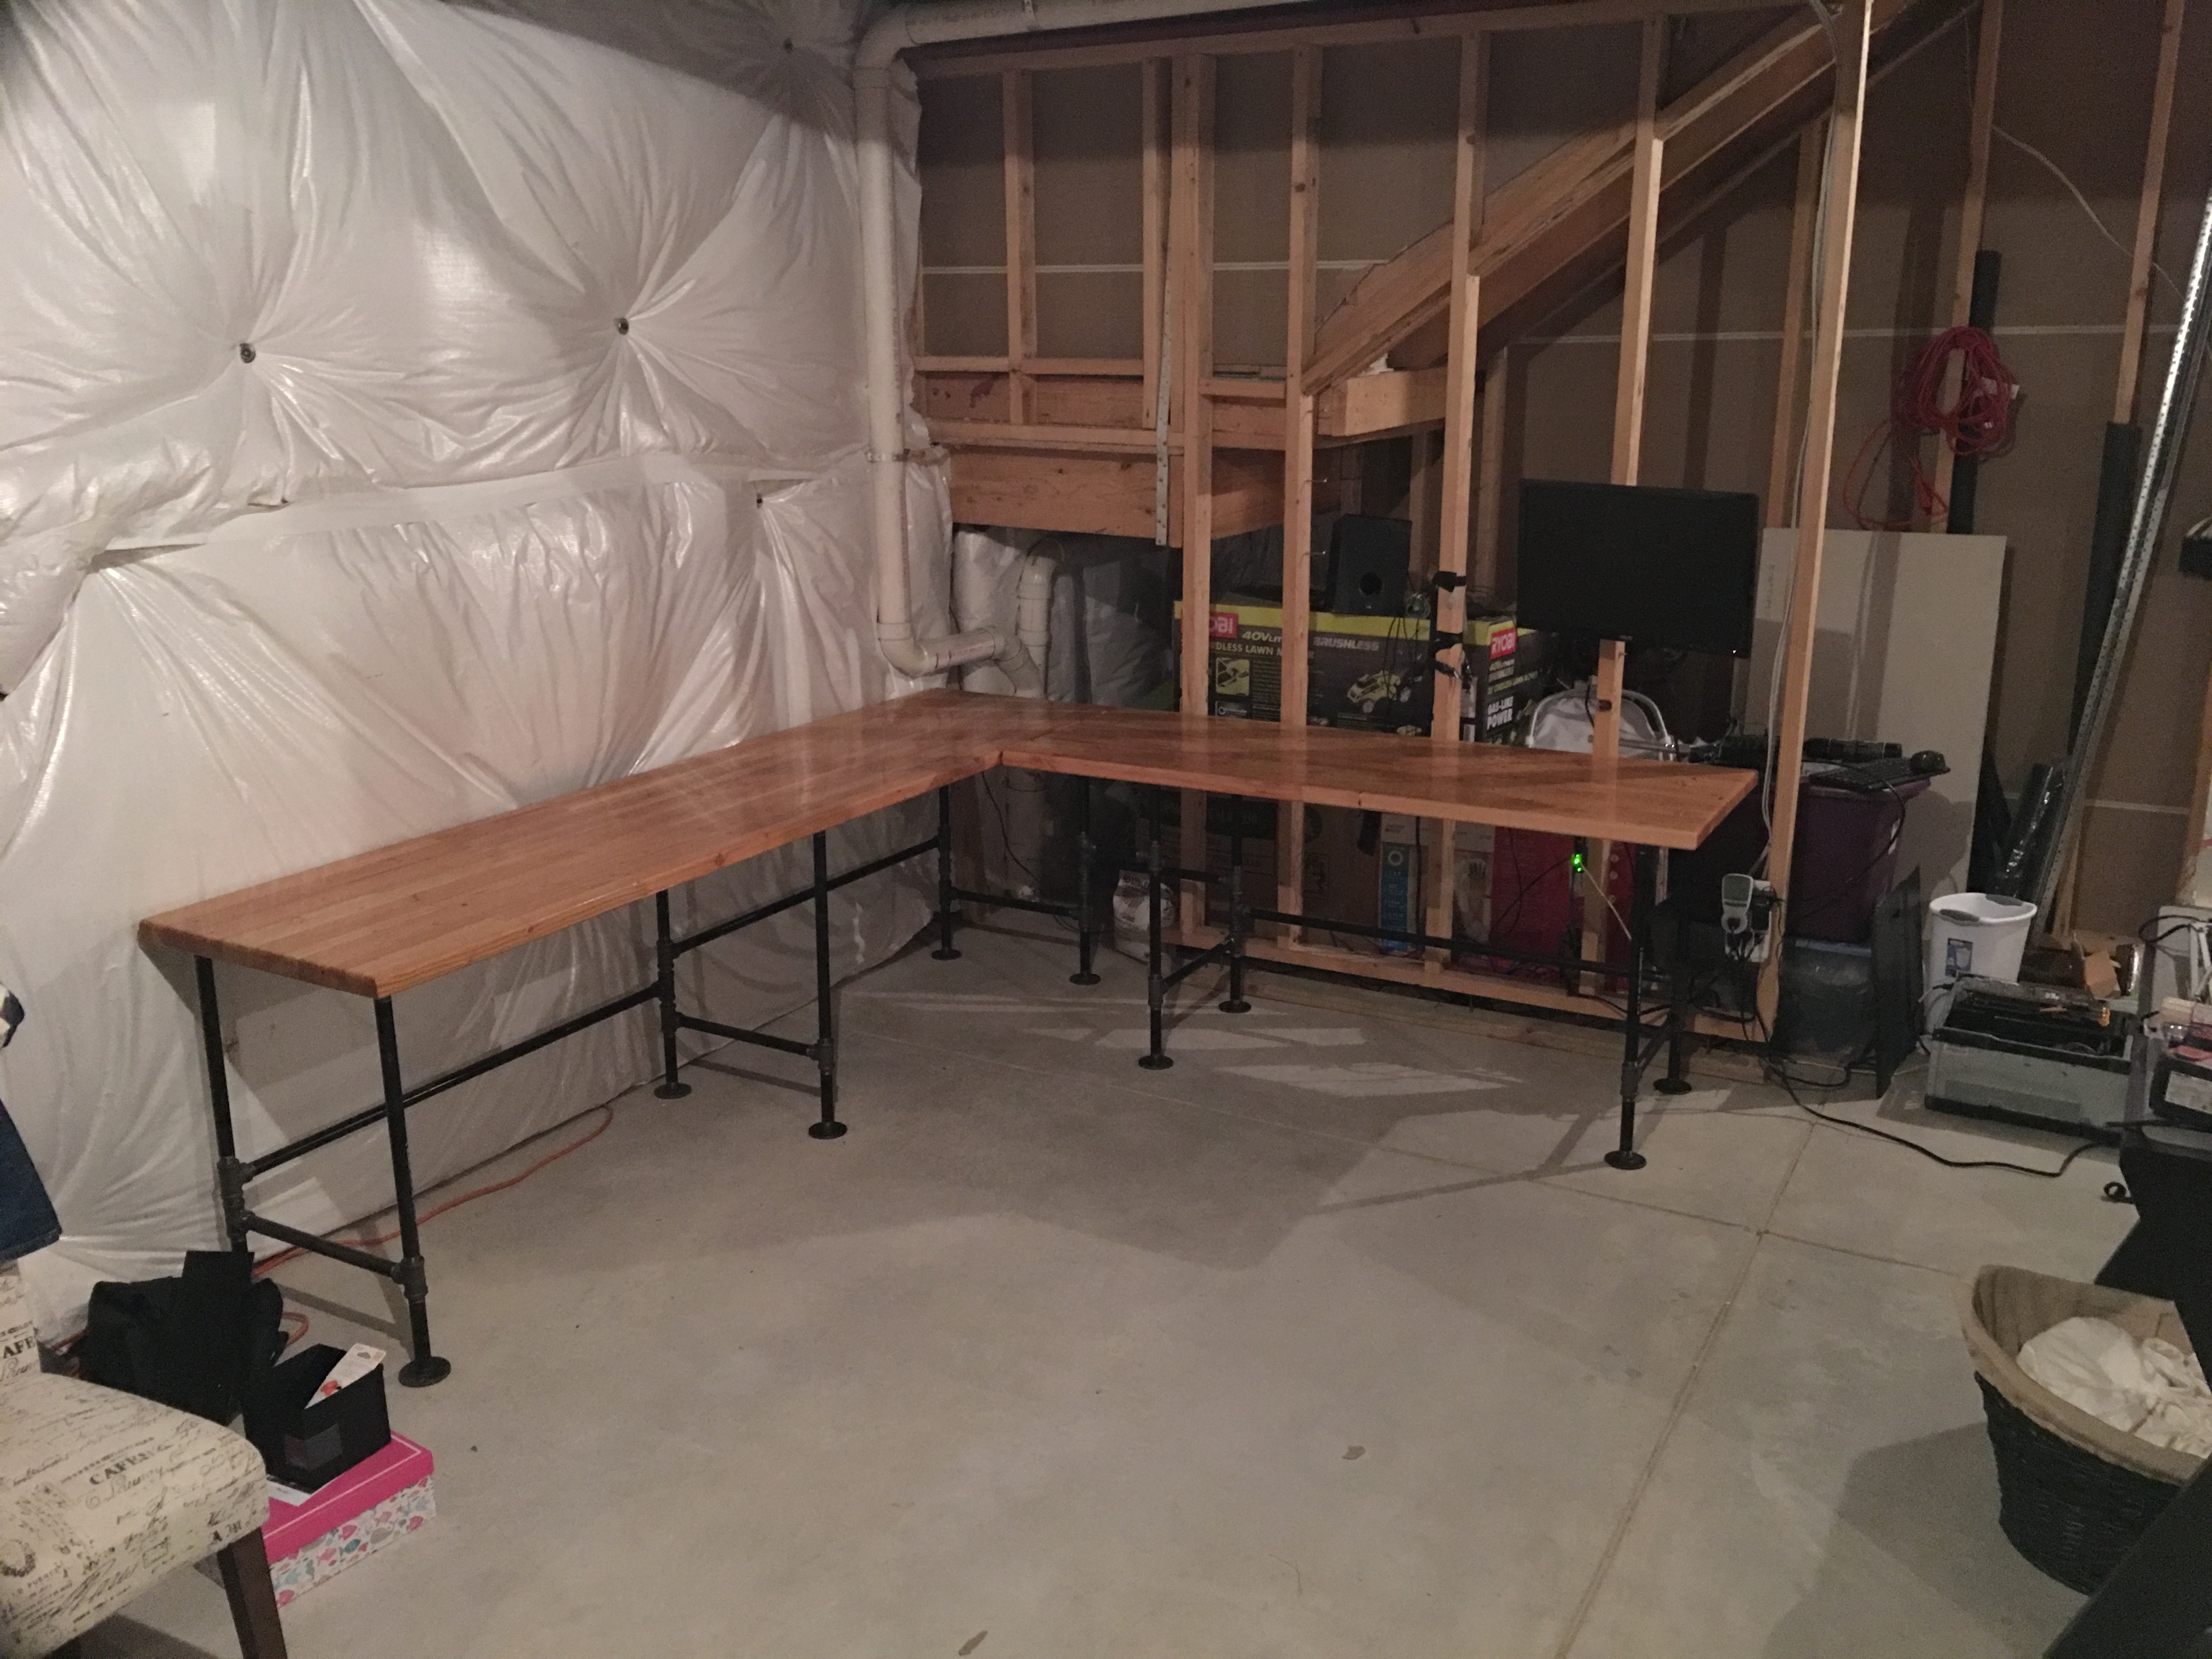
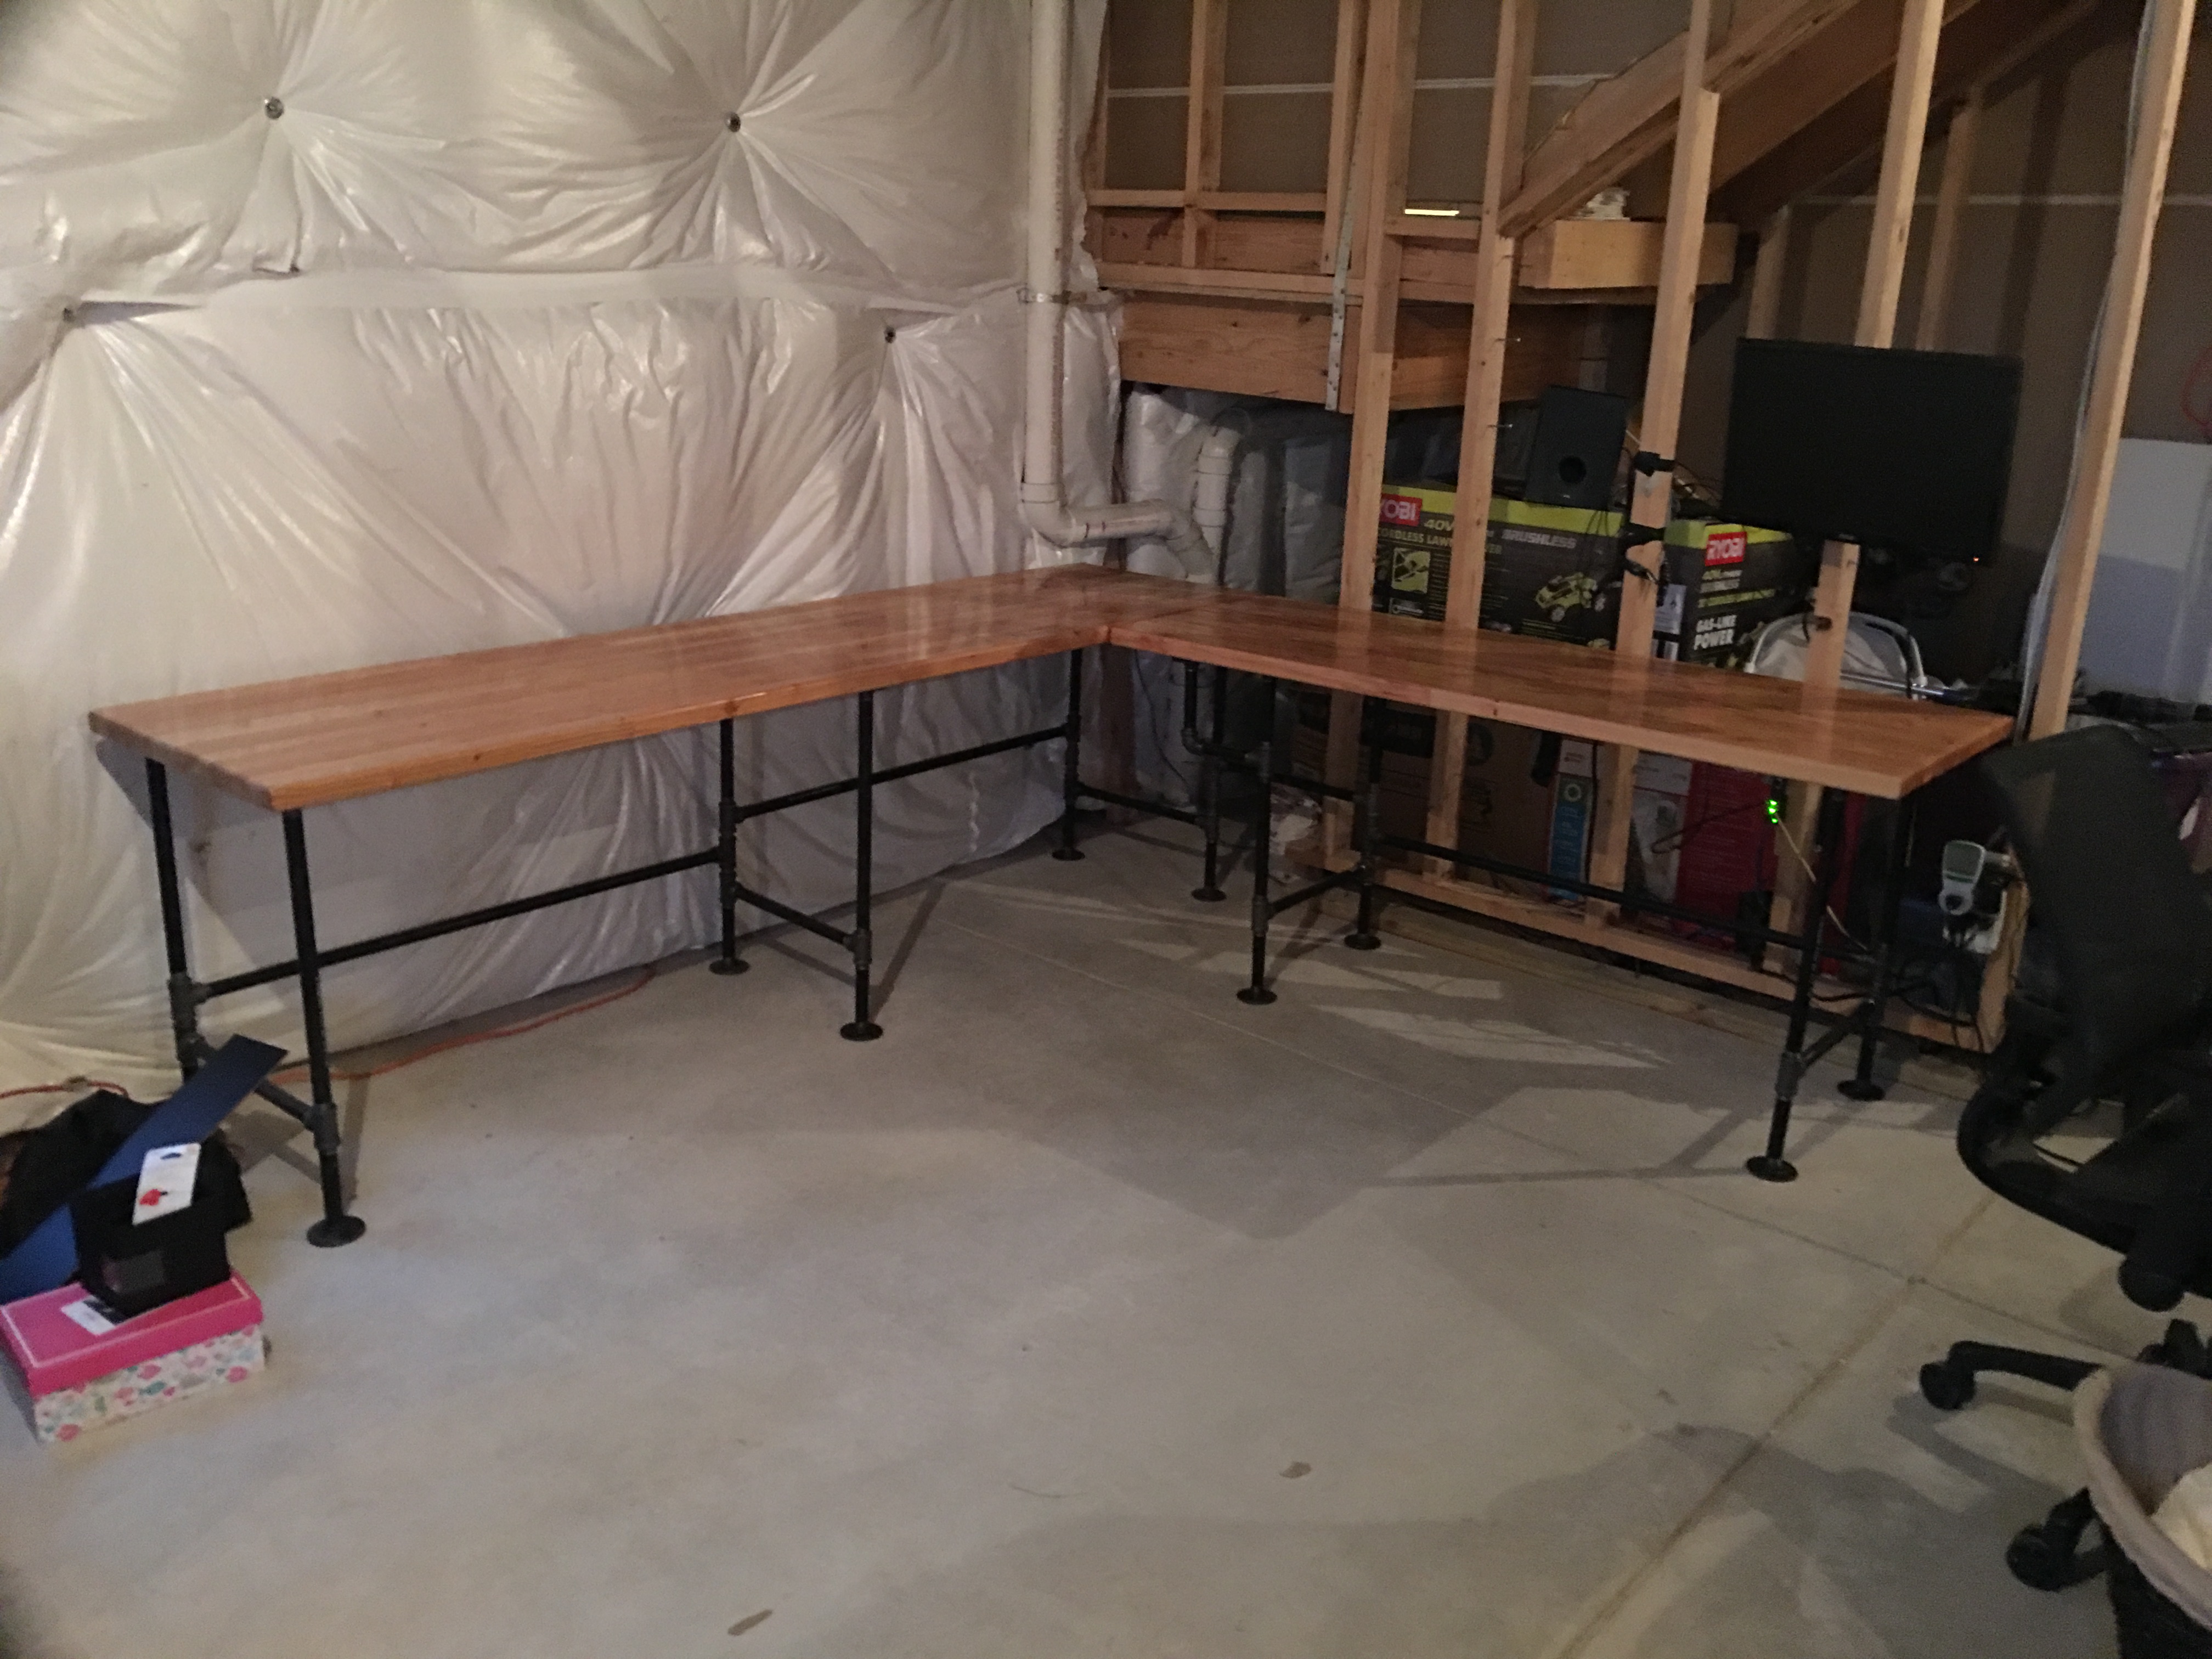
All Done!
After 10! layers of poly (trying to fill some voids), and sanding down to 800 grit, the table was ready to be placed on the pipe-base and put into place.